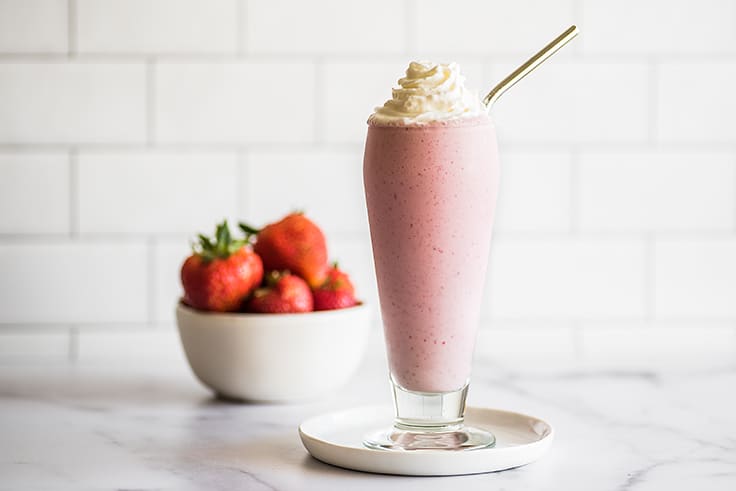
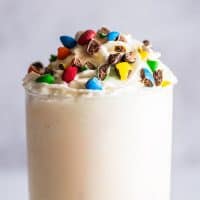
This Strawberry Milkshake is beautifully pink, rich and frosty, and bursting with sweet-tart strawberry flavor.

What is your go-to milkshake flavor? I’m usually an Oreo Shake or Chocolate Milkshake fan, but there are days where it feels like nothing in the world would be better than a strawberry milkshake.
Is today one of those days? If so, let’s make the very best strawberry milkshake.
The Very Best Strawberry Milkshake with Strawberries
IMHO, the best strawberry shake is made with vanilla ice cream and real strawberries. If you have strawberry ice cream in your freezer, you can totally make a milkshake with just ice cream and milk (follow the classic milkshake ratio of 3 scoops ice cream to 1/2-3/4 cup milk), but starting with vanilla ice cream and strawberries gives you a ton of real fruit flavor that just can’t be beat.


How to Make a Strawberry Milkshake
- In your blender, you’ll combine ice cream, strawberries, a little sugar, and milk, and blend until smooth.
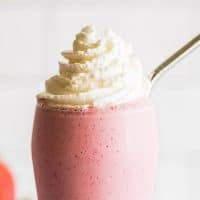
- Pour into a chilled glass, top with whipped cream, and enjoy!
Fresh or Frozen Strawberries for a Strawberry Milkshake?
Either fresh or frozen berries work just fine in a milkshake. You’ll get a thicker, frostier shake with frozen berries, but your blender might also struggle a little more blending them.
To help things blend more easily, if using frozen berries, scoop your ice cream into the blender and let it sit at room temperature for 5 to 10 minutes, until it just starts to melt, before adding the rest of your ingredients and blending.
If your blender is still struggling, give it another few minutes or add just a bit more milk until it blends without trouble.
More Strawberry Milkshake Flavors
This strawberry shake is a great base recipe for experimenting with more strawberry combos. If you’re looking for something new, try adding some of these mix-ins:
- Strawberry Cheesecake Milkshake: Add 1 1/2 to 2 ounces cream cheese to the shake before blending. (This one is SOOOOO good!!)
- Chocolate-covered Strawberry Milkshake: Swirl 1 tablespoon of fudge sauce around the glass before pouring the shake in and add 1 tablespoon sauce over the top (do not stir or your shake will turn brown).
- Strawberry Banana Milkshake : Add 1 ripe banana (fresh or frozen) to the shake before blending.

Strawberry Milkshake Recipe Notes
- This recipe makes about 16-ounces or 2 cups of milkshake, enough for one restaurant-size serving or two smaller servings.
- Looking for more strawberry recipes? Try Strawberry Milk for One or Two , Small-batch Strawberry Frosting , and Homemade Strawberry Sauce .
Ingredients
- ▢ 1 1/2 cups vanilla ice cream* about 3 scoops
- ▢ 1/2 to 3/4 cup milk* any percentage
- ▢ 3/4 cup chopped hulled strawberries fresh or frozen is fine
- ▢ 1 tablespoon ( 13g ) granulated sugar optional but recommended*
- ▢ Whipped cream optional for topping
Instructions
- In a blender, combine ice cream, milk, strawberries, and sugar, and blend until well-combined and pourable.
- Pour into a glass, top with whipped cream, and enjoy.
Notes
Roasted green beans are simple, delicious, and one of the easiest vegetable sides to make.

One of the early popular recipes on this site was my Butter and Garlic Green Beans , and for the longest time, that has been my go-to green bean recipe. I love it. It’s so easy. And I make it constantly.
But over the last few months, another even easier green been recipe has been creeping up my green bean rankings and just might unseat that recipe as number one in my heart: Roasted Green Beans.
The Best Roasted Green Beans
Green beans roasted in the oven are so good. Roasting really brings out their flavor, and while green beans don’t get burnt and crunchy in the oven the way something like roasted broccoli does, they do come out slightly blistered, perfectly tender-crisp, and amazing.
Whenever I make these with family around, people are constantly stealing beans off the hot baking sheet and eating them like fries before I can dish them up.
But the number one reason why I love making green beans in the oven is that it is so, so, so easy and simple. The only measurements you need to remember are 1 pound of green beans, 1 tablespoon of olive oil, so after you’ve made them once, you’ll never have to look at a recipe again.
How to Make Roasted Green Beans
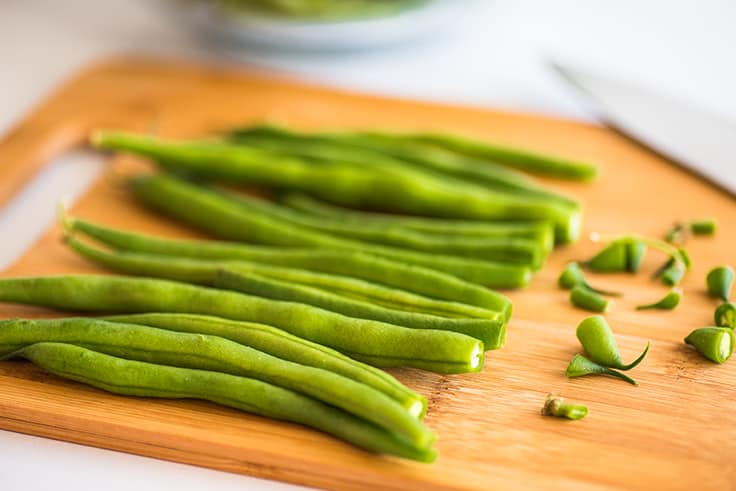

To start, wash your green beans and dry them with a salad spinner or spread them out on a kitchen towel and pat dry.
Then snap or trim off the ends. If you want bite-size green beans, you can cut them into smaller pieces, but I think the long ones are kind of fun, so I usually leave them as is.
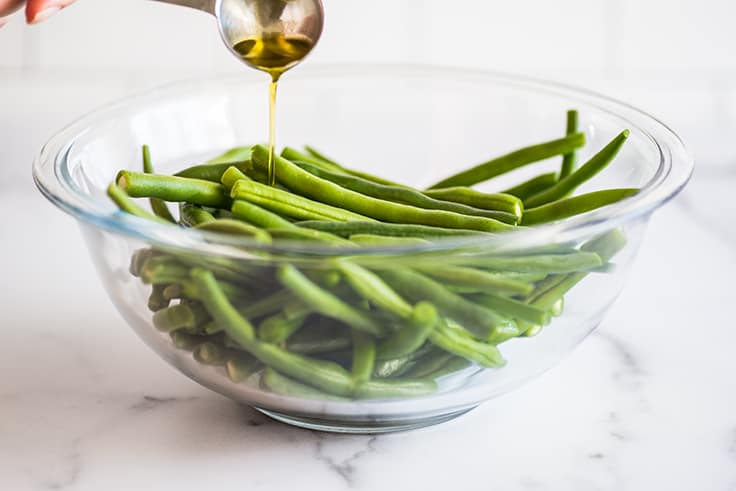

- Next, drizzle and toss with olive oil. I usually do this step in a bowl because you get better coverage, but you can also do it right on a baking sheet if you don’t want to dirty an extra dish.
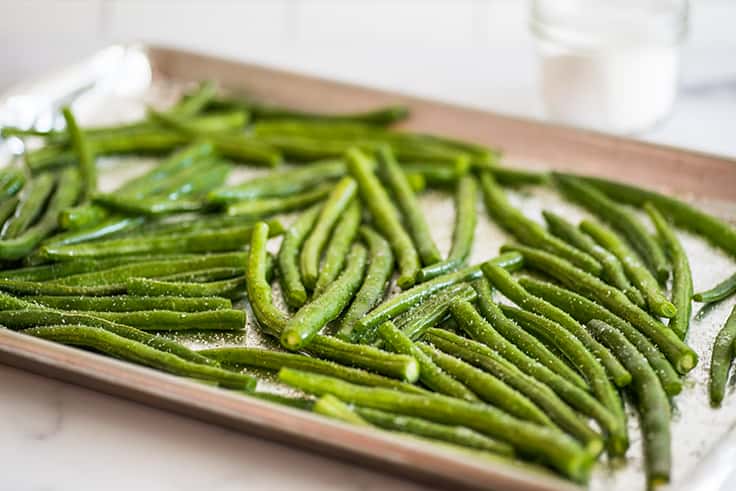

Spread beans in a single layer on a baking sheet and sprinkle with salt (kosher if you have it), pepper, and garlic powder. Don’t waste time measuring. Just sprinkle generously.
Finally, bake for 8 minutes, give the pan a shake and continue to bake until green beans are fork tender. And that’s it. They’re ready to eat.
Baked Green Bean Variations (Switch things up!)
Green beans cooked in the oven can be made with endless variations so you never get bored. Here are some of my favorites:
- Lemon Green Beans : Add the juice and zest of 1/2 of a lemon before baking.
- Parmesan Green Beans: Add 1/2 to 1 cup of finely grated parmesan cheese over the top before baking.
- Mushroom Green Beans: Add 1/2 pound of thinly sliced mushrooms before tossing with olive oil and baking.
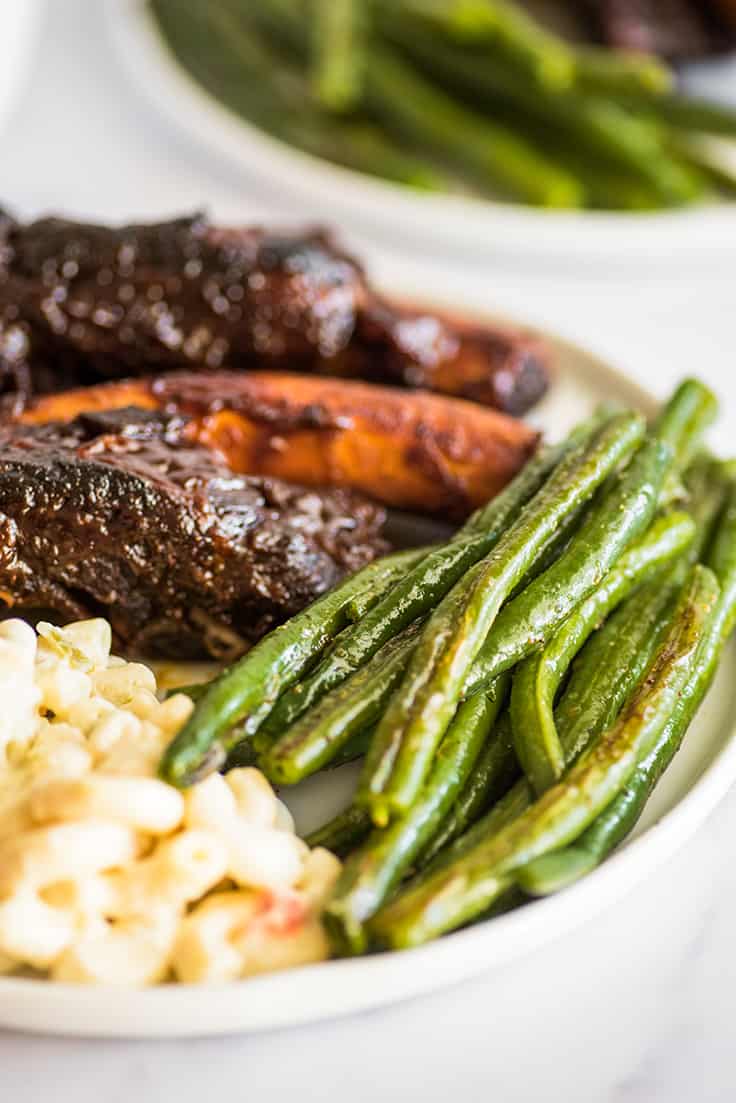
What to Serve With Oven-roasted Green Beans
Roasted green beans complement almost any meal but go particularly well with Marinated Ribeyes , Tri-tip Sandwiches , Slow Cooker Beef Ribs , and Chicken in Cream Sauce .


Ingredients
- ▢ 1 pound fresh green beans washed, dried, and trimmed
- ▢ 1 tablespoon olive oil
- ▢ Salt and pepper
- ▢ 1/4 teaspoon garlic powder (approximately)
Instructions
- Preheat your oven to 425°F.
- In a bowl or on a baking sheet, toss green beans with olive oil. Spread beans in a single layer on baking sheet.
- Sprinkle generously with salt, pepper, and garlic powder. Bake for 8 minutes and shake pan a couple of times.
- Bake for an additional 4 to 6 minutes, until green beans are tender-crisp or reach your desired level of doneness.
- Serve and enjoy!
How to make a great milkshake without a blender. You’ll just need ice cream, milk, a mason jar, and a microwave…

Hey, friend, here today because you’re craving a milkshake and don’t have a blender (or don’t want to have to wash a blender)? You’re in the right place.
No Blender, No Problem
It’s actually really easy to make a great milkshake without a blender. You’ll just need ice cream, milk, a mason jar , and a microwave.
And real talk, a milkshake made by hand will never be as thick and frosty as one made with a high-powered blender, but this is still going to be a fabulous shake that will absolutely satisfy all those milkshake cravings.
How to Make a Milkshake Without a Blender


Start by placing your ice cream in a large, microwave-safe jar, like a quart-size mason jar. Microwave the ice cream until it begins to melt and you can easily squish it with a spoon. (Note: The ice cream in the first photo has NOT been microwaved yet. You’ll want it more melty than that.)
After your ice cream is softened, you’ll add your milk and any mix-ins (scroll down for my favorite mix-in ideas).
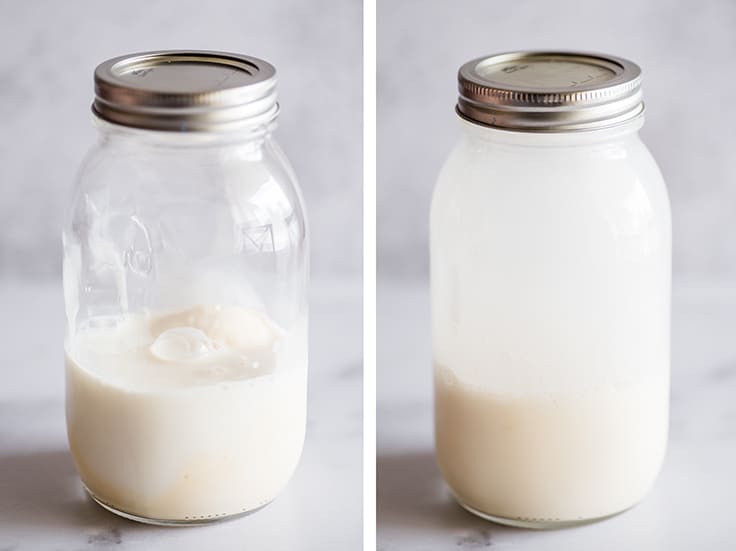

Place a lid on the jar and shake vigorously until well-mixed. When making milkshakes with this method, you almost always end up with a couple stubborn bits of ice cream that won’t mix by shaking. Take a long spoon and stir them into the shake, mashing them against the edges of the jar to help them mix.
And that’s it, pour your shake into a glass, top with whipped cream, and enjoy!


The Best Milkshakes to Make Without a Blender
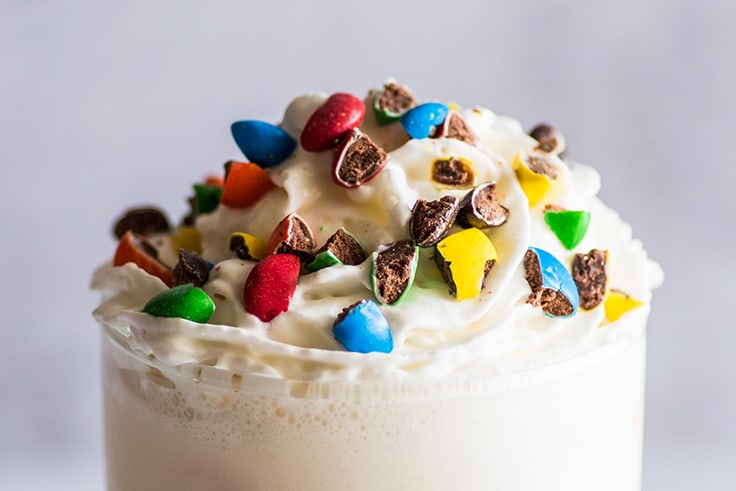
The best milkshakes to make without a blender are shakes using mix-ins that don’t need to be blended, like syrups or extracts, or ingredients that can be chopped or smashed by hand, like candies and cookies.
Fruit shakes with real fruit are difficult to make by hand unless you want to do some serious mashing with a potato masher.
Some good milkshakes to make without a blender:
- Chocolate Milkshake : Add 3 tablespoons of chocolate or fudge sauce .
- Oreo Milkshake : Smash 3 to 4 Oreo cookies in a plastic bag with a rolling pin or the bottom of a heavy glass and add crumbs to the shake.
- Candy Milkshake: Finely chop about 3 tablespoons of chocolate candies and add pieces to the shake.

For more microwave dessert recipes, try Nutella Sauce and Peanut Butter Sauce .
Ingredients
Special Equipment
- ▢ Quart-size mason jar with a lid
Milkshake
- ▢ 1 1/2 cups ice cream about 3 scoops, any flavor
- ▢ 1/2 to 3/4 cup milk any percentage
- ▢ Whipped cream optional for topping
Chocolate Milkshake
- ▢ 3 tablespoons chocolate syrup
Caramel Milkshake
- ▢ 2 tablespoons caramel, butterscotch, or dulce de leche
Oreo Milkshake
- ▢ 3 to 4 Oreos finely crushed
Candy Milkshake
- ▢ 3 tablespoons chocolate candy finely chopped
Instructions
- Place ice cream in a large, microwave-safe jar. Microwave the ice cream until it begins to melt and you can easily squish it with a spoon, 15 to 30 seconds.
- After your ice cream is softened, add milk and any mix-ins.
- Place lid on the jar and shake vigorously until well-mixed. Take a long spoon and stir any remaining bits of ice cream into the shake, mashing them against the edges of the jar to help them mix.
- Pour shake into a glass, top with whipped cream, and enjoy!
Notes

Strawberry Milkshake
Ingredients
- 1 1/2 cups vanilla ice cream* about 3 scoops
- 1/2 to 3/4 cup milk* any percentage
- 3/4 cup chopped hulled strawberries fresh or frozen is fine
- 1 tablespoon ( 13g ) granulated sugar optional but recommended*
- Whipped cream optional for topping
Instructions
- In a blender, combine ice cream, milk, strawberries, and sugar, and blend until well-combined and pourable.
- Pour into a glass, top with whipped cream, and enjoy.
