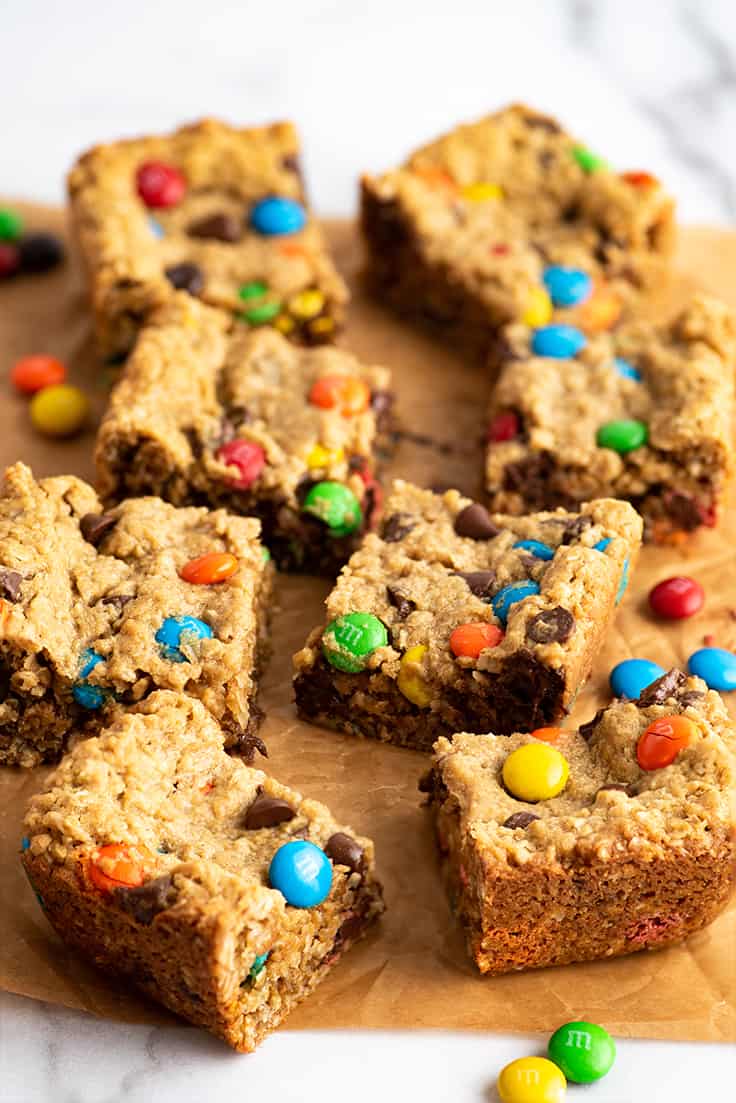
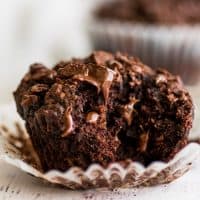
These flourless Small-batch Monster Cookie Bars are easy to make and come out gooey, peanut buttery, and perfect every time.
Craving something sweet and peanut buttery but don’t have any flour in your cupboard? You should make a little batch of monster cookie bars…


Easy No-flour Cookie Bars
These small-batch monster cookie bars are a super simple one-bowl dessert that requires zero flour. They’re big on peanut butter flavor and packed full of M&Ms and melty chocolate chips.
Monster cookie bar recipes usually make an entire sheet pan of bars, but this small-batch recipe bakes in a loaf pan and makes just 6 to 8 cookie bars, which is probably good right now, because they are ridiculously addicting, and however many you make is probably how many you will eat. 😉


What is their texture like? The texture of monster cookie bars is somewhere between a cookie and a (good) granola bar. Since there’s no flour, they’re not pillowy like a soft cookie.
Instead, they’re a little gooey and chewy, with a bit of crispiness around the outer edges and lots of texture from the oats.
A Note on Oats
I called for quick-cook oats in this recipe (AKA instant or minute oats) because these oats have been processed into smaller pieces for quicker cooking, and I prefer their texture in baked goods.
But you can use old-fashioned/rolled oats if that’s what you have on hand. The oat texture will just be slightly more aggressive.
You cannot use steel-cut oats in this recipe.

Notes & Substitutions
- I don’t have a loaf pan: If you don’t have a standard-size 1-pound loaf pan , you can use a 5×7-inch baking dish , just extend the baking time slightly since your bars will be a bit thicker.
- I don’t have M&M’s: The texture the crunchy candy shells add to these bars is really fantastic, so if you can get M&M’s, I recommend using them, but any baking chip (I bet peanut butter chips would be stellar) or chopped chocolate candy will work here as a substitution.
- I don’t have oatmeal: Sorry, friend, you cannot substitute for or omit the oatmeal in these bars. If you don’t have oatmeal, give my Small-batch Peanut Butter Cookies a go. You can add 1/2 cup of M&Ms or chocolate chips and still get that chocolate and PB fix, no oatmeal required.
- These bars need about 45 minutes to cool and firm up, otherwise they will fall apart when you try to cut and eat them. BUT if you really want to eat them warm and melty, scoop a serving into a bowl, add a scoop of ice cream and Fudge Sauce or Peanut Butter Sauce , maybe top with a little Whipped Cream and make a sundae out of it!
More Small-batch Recipes
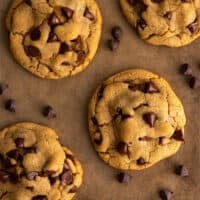
- Small-batch Chocolate Chip Cookies
- Small-batch Brownies
- Small-batch Banana Muffins
- Small Red Velvet Cake
Equipment
- 1-pound loaf pan
- Parchment paper
Ingredients
- ▢ 3 tablespoons ( 42g ) salted butter softened*
- ▢ 1/2 cup ( 132g ) peanut butter creamy or chunky*
- ▢ 1/3 cup ( 67g ) granulated sugar
- ▢ 1/3 cup ( 67g ) brown sugar
- ▢ 1 large egg
- ▢ 1/2 teaspoon vanilla extract
- ▢ 1 1/2 cups ( 130g ) quick/instant oats *
- ▢ 1/2 teaspoon baking soda
- ▢ 1/2 cup ( 85g ) M&M’s plus more for topping
- ▢ 1/3 cup ( 56g ) chocolate chips
Instructions
- Preheat your oven to 350°F. Lightly grease and line a loaf pan with parchment paper.
- In a medium bowl, combine softened butter, peanut butter, and granulated and brown sugars. Beat until well-combined and slightly lightened in color, about 1 minute.
- Add egg and vanilla and mix until well-combined.
- Add oats and sprinkle baking soda over the top. Mix until well combined.
- Add M&M’s and chocolate chips and use a wooden spoon or spatula to mix.
- Transfer mixture to prepared baking pan and press dough out into an even layer. Sprinkle a few extra M&M’s over the top if desired, and bake for 15 to 18 minutes, until the edges are lightly browned (the center will still look pale and slightly underdone). Do not overbake!
- Allow bars to cool in the pan for about 45 minutes so they can firm up before transferring to a cutting board and slicing.
- Serve and enjoy!
Notes
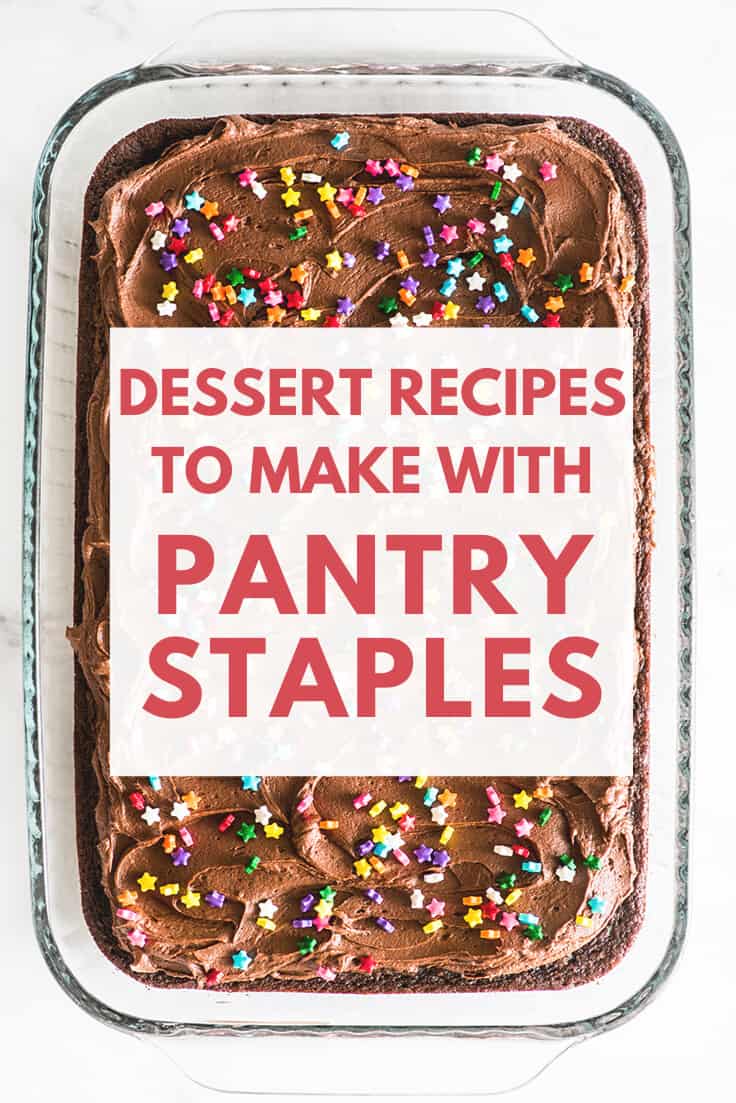
20+ Pantry Desserts, dessert recipes you can make with just a handful of pantry staples.
I’ve been meaning to write a post on this topic for a while, and since so many of us are at home stress baking from our cupboards anyway, now seemed like the perfect time to finally sit down and do it.
Let’s talk about all the things you can bake with pantry staples.
The amazing thing about baking is how many things you can make with just a handful of ingredients. When it comes down to it, most baking recipes are just different ratios of the same pantry staples.
This means that if you keep a basic stocked baking pantry, you can always make something delicious.

Baking Pantry Staples
Everyone’s baking pantry staples are going to be different, but I’ve assembled a list of the bare minimum essentials you’ll need to get started and a level 2 list with a few extra ingredients that will give you even more dessert options.
If you have the ingredients on these lists, you’ll be amazed at just how many different things you can make.
Basic Baking Pantry Staples Level 1 (The Essentials)
- All-purpose flour
- Sugars (granulated, brown, and powdered)
- Cocoa powder
- Baking soda
- Baking powder
- Salt
- Milk
- Butter*
- Large eggs
- Vanilla extract
- Peanut butter (not natural-style)
- Semi-sweet chocolate chips
- Recipes will typically specify either salted or unsalted butter. If you have salted butter and unsalted is called for, reduce the salt in the recipe by 1/4 teaspoon per 1/2 cup (8 tablespoons) of butter in the recipe. If you have unsalted and the recipe calls for salted butter, increase the salt by 1/4 teaspoon per 1/2 cup.
Basic Baking Pantry Staples Level 2
- Vegetable oil
- Shortening
- Oatmeal (quick-cook or old-fashioned)
- Ground cinnamon
- Cream of tartar
The Recipes
These are the Baking Mischief recipes you can make with a basic stocked pantry. I’ve divided the recipes into 3 sections:
- Level 1 – If you have everything on the “Basic Baking Pantry Staples Level 1” list, you can make everything from this section.
- Level 2 – If you have everything on both lists, you can make everything from levels 1 and 2.
- Level 3 – You’ll (potentially) need ingredients from both lists and the extra ingredients bolded in the notes below each recipe.
Make sense? Hopefully that’s a yes, and happy baking.
Level 1 Pantry Staples Recipes
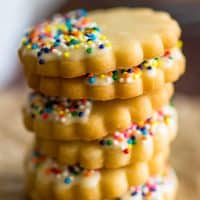
Small-batch Shortbread Cookies – Shortbread cookies are as simple as it gets and made with just four ingredients. If you have white chocolate and sprinkles, you can add them, but toppings are totally optional.

Small-batch Sugar Cookies (3 Ways) – You’ll need a couple additional ingredients to make the glazed or sprinkled versions of these cookies, but the base perfect sugar recipe? That one can be all yours right now.
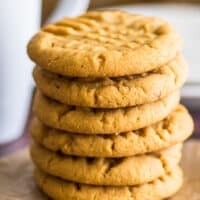
Small-batch Peanut Butter Cookies – This sweet little recipe makes six regular-sized cookies or make One Peanut Butter Cookie that serves two.
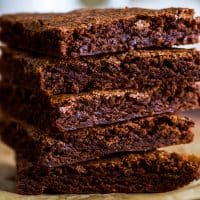
One-bowl Small-batch Brownies – This is the most dangerous recipe on the site because you can throw these brownies together so quickly and scarf them down even faster.
Need a bigger, more frosting-covered version? Make these Frosted Brownies or swirl in some peanut butter for Small-batch Peanut Butter Swirl Brownies .

Easy Hot Chocolate for One – Okay, this isn’t a baking recipe, but it is one of the recipes I make most often with baking staples, and I love it, so I’m sharing it.
You can also add ice and make Frozen Hot Chocolate , peanut butter and make Peanut Butter Hot Chocolate , or make a cold version for Chocolate Milk .
Level 2 Pantry Staples Recipes
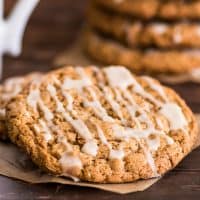
Small-batch Oatmeal Cookies with Icing – Totally perfect oatmeal cookies without a raisin in sight. Technically these also call for nutmeg in the cookie dough, but if you don’t have it, you can skip it.
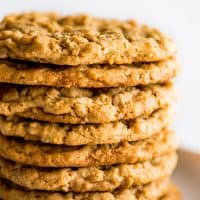
Peanut Butter Oatmeal Cookies – These are currently my favorite cookies, and I absolutely did just stress bake a batch of them on Thursday. Add chocolate chips (milk chocolate is especially good) or make a small batch if you don’t trust yourself with 24 cookies.

Small-batch Chocolate Cupcakes With Chocolate Buttercream – Use chocolate chips where the recipe calls for “chopped semi-sweet chocolate,” and you’re about to have yourself one excellent little batch of cupcakes.
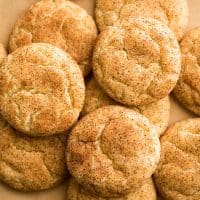
Snickerdoodles – You can make a full-size batch or these bendy, chewy small-batch snickerdoodles . Your choice.
Level 3 A Couple Extra Ingredients
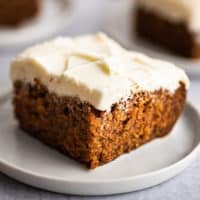
Easy Carrot Cake Recipe – Another recipe that comes in full-size or mini . Extra Ingredients: Carrots & cream cheese
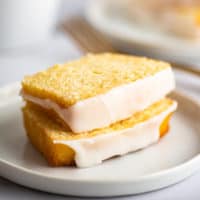
Small Lemon Pound Cake – Possibly the most addicting recipe on this list. Try not to eat both little cakes all by yourself. 😉 Extra Ingredient: 1 to 2 lemons and cream cheese (if you want a cream cheese glaze)
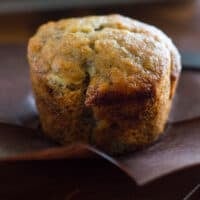
One Banana, One Bowl Small-batch Banana Muffins – These muffins are another Baking Mischief reader favorite. Extra Ingredient: 1 overripe banana
Small-batch Chocolate Banana Muffins (One-banana, One-bowl) – One of my personal faves. The texture of these muffins is just total perfection. Extra Ingredient: 1 overripe banana
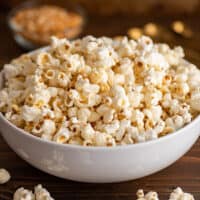
Easy Homemade Kettle Corn – Kettle corn has a bit of a learning curve when making at home, but once you figure it out, it is just about the quickest, simplest sweet snack you can make. Extra Ingredient: Popcorn kernels
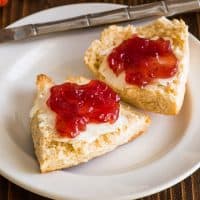
Small-batch Cream Scones – Why yes, these scones are perfect. Thanks for noticing. <3 Extra Ingredients: Heavy cream & jam (for topping)
How to make a vanilla milkshake, with tips and tricks for making the best shake possible.

Vanilla milkshakes sometimes get a bad rap as being a little boring, a little, shall we say, vanilla. But you know what?
A good vanilla milkshake is a thing of beauty, and today we’re going to make a really good vanilla milkshake.
A Really Good Vanilla Milkshake Recipe
There are three things we’re going to do to make the best vanilla milkshake possible:
- Start with good-quality ice cream. I’m usually team cheap ice cream for milkshakes, but since we’re not adding other flavors here, you really want a good base.
That chemically artificial vanilla taste you get with some cheap vanilla ice creams is not the foundation we want to build our shake upon.
Ramp up the vanilla flavor. This is the secret for the best vanilla shake: adding the seeds scraped from half a vanilla bean or a couple drops of vanilla extract can really put that vanilla flavor over the top. If you don’t have vanilla beans/extract, you can totally skip this step, but if you have them, use them!
Use the right ratio of milk to ice cream. I talk about this in every milkshake post, but this is how to make a milkshake 101. The right ice cream to milk ratio (which is 3 scoops ice cream to 1/2 to 3/4 cup milk) can make or break your shake.

More Vanilla Shake Flavor Combos
Want something a little different? Try the following combos:
- Banana Vanilla Bean Milkshake: Add 1/2 to 1 whole overripe banana before blending (check out this post on ripening bananas quickly if your bananas aren’t quite brown enough). For a thicker shake, use a frozen banana.
- Bourbon Vanilla Bean Shake: Replace 2 tablespoons of the milk in the recipe with 1 ounce (2 tablespoons) of bourbon.
More Milkshake Recipes
- Chocolate Milkshake
- Strawberry Milkshake
- Banana Milkshake
- Oreo Milkshake
- Caramel Milkshake

Recipe Notes
- To make this milkshake without a blender , simply microwave ice cream in a quart-size mason jar for 15 to 30 seconds, until softened, but not completely melted. Then add milk and vanilla beans, screw the lid on tightly and shake until well-mixed. If there are any bits of ice cream that did not mix in, use a spoon to stir them against the sides of the jar so they mix. Then pour into a glass or two and enjoy!
Ingredients
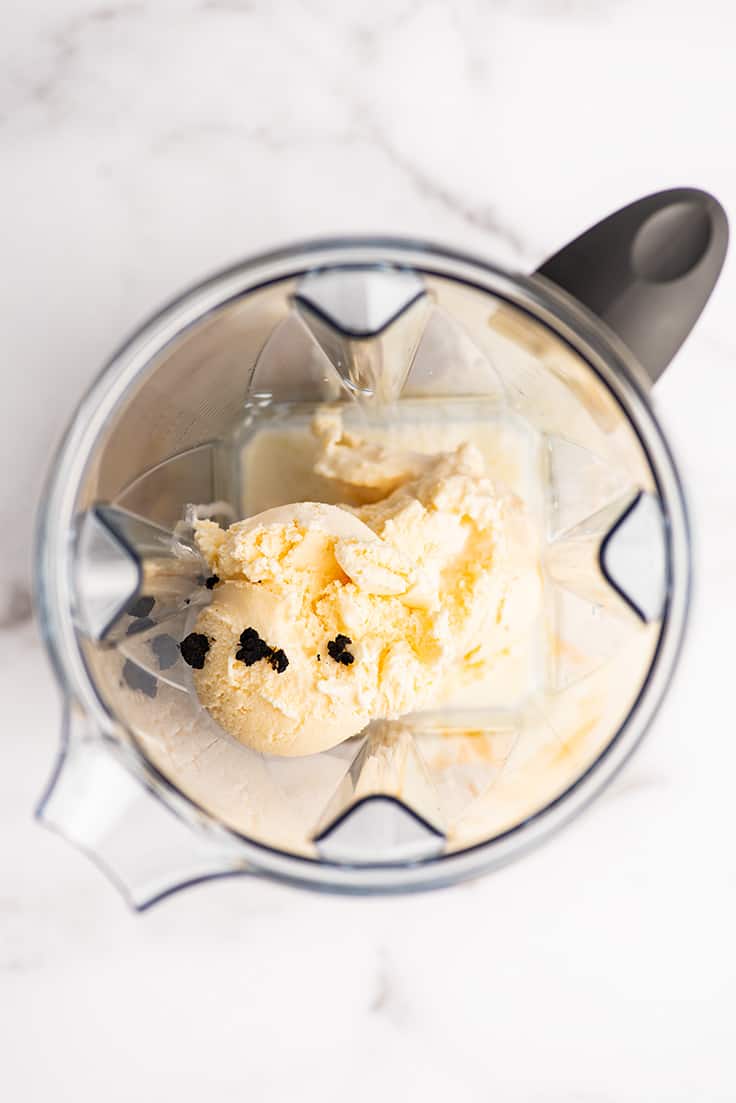
- ▢ 1 1/2 cups good-quality vanilla ice cream about 3 scoops, slightly softened
- ▢ Scraped seeds from 1/2 vanilla bean or 1 teaspoon real vanilla extract
- ▢ 1/2 to 3/4 cup milk * any percentage
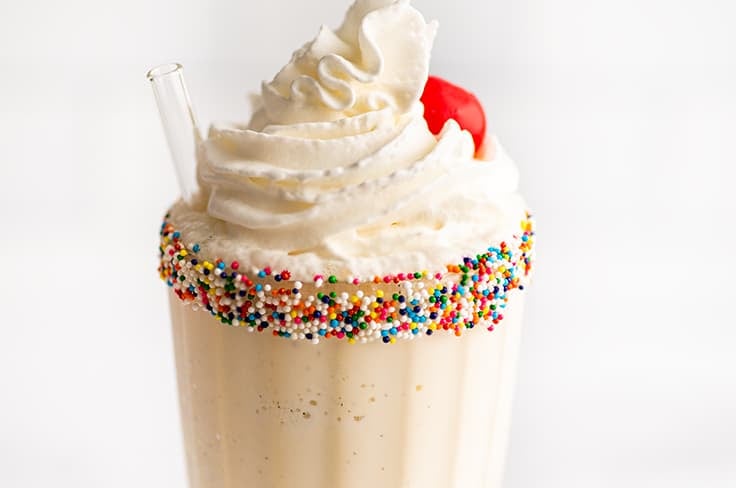
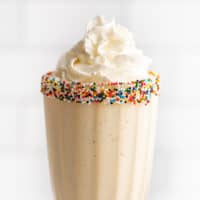
- ▢ Whipped cream optional for topping
Instructions
- In a blender, combine ice cream, vanilla bean seeds (or extract), and milk, and blend until pourable.
- Pour into a glass, top with whipped cream if desired, and enjoy!
Notes

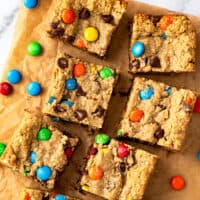
Small-batch Monster Cookie Bars
Equipment
- 1-pound loaf pan
- Parchment paper
Ingredients
- 3 tablespoons ( 42g ) salted butter softened*
- 1/2 cup ( 132g ) peanut butter creamy or chunky*
- 1/3 cup ( 67g ) granulated sugar
- 1/3 cup ( 67g ) brown sugar
- 1 large egg
- 1/2 teaspoon vanilla extract
- 1 1/2 cups ( 130g ) quick/instant oats *
- 1/2 teaspoon baking soda
- 1/2 cup ( 85g ) M&M’s plus more for topping
- 1/3 cup ( 56g ) chocolate chips
Instructions
- Preheat your oven to 350°F. Lightly grease and line a loaf pan with parchment paper.
- In a medium bowl, combine softened butter, peanut butter, and granulated and brown sugars. Beat until well-combined and slightly lightened in color, about 1 minute.
- Add egg and vanilla and mix until well-combined.
- Add oats and sprinkle baking soda over the top. Mix until well combined.
- Add M&M’s and chocolate chips and use a wooden spoon or spatula to mix.
- Transfer mixture to prepared baking pan and press dough out into an even layer. Sprinkle a few extra M&M’s over the top if desired, and bake for 15 to 18 minutes, until the edges are lightly browned (the center will still look pale and slightly underdone). Do not overbake!
- Allow bars to cool in the pan for about 45 minutes so they can firm up before transferring to a cutting board and slicing.
- Serve and enjoy!
