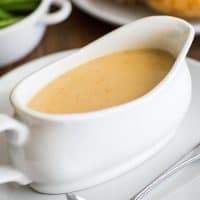
How to Make Gravy From Drippings: your guide to making the best, easy homemade gravy from pan drippings.

Over the last month, I’ve been posting a series of recipes related to one of my favorite fall things, roasted chicken. There’s been an Easy Roasted Chicken Guide , How to Make Chicken Carcass Soup , and How to Make Chicken Stock .
Today, I present you with the last of that series, How to Make Gravy From Drippings.
And I’m not going to say this is my favorite of the bunch, I love them all, but really this is kind of my favorite because it’s a perfect back-pocket recipe.
To me, a perfect back-pocket recipe is one of those recipes that gives you just a little more confidence in the kitchen because you always know you can whip it up in any situation, in any half-stocked kitchen, any time.
This gravy fits all of those bills. It’s quick, requires just four ingredients, and all you need to make it is a pot or skillet, a whisk, and (optionally) a fine-mesh strainer.
Did I mention it’s also really excellent gravy? Making gravy from a roux made with pan drippings means that not only are you getting a creamy, dreamy gravy, but it’s a gravy infused with all the flavor of whatever those drippings came from.
It’s so good, it’s dead easy to make, and I can’t wait for you to try it.


What You Need to Make Gravy From Pan Drippings
Pan drippings from roasted meat and the browned bits: If the drippings are in something that can go on the stove top, pour off everything but two tablespoons of fat and keep all the browned, stuck-on bits from the bottom of the pan in there.
If the drippings are on a baking sheet or something that can’t go on the stove top, measure out the correct amount of drippings, pour off the rest, and then use a spatula to scrape the solid bits out of the pan and add them in with the drippings.
The browned bits are optional, but they’ll add a lot of flavor, so why waste them?
Flour: To make your roux and thicken your gravy.
Water, broth, or milk: Any of the three will work here. I actually like gravy made with water best, but experiment and see what works for you. Broth will give you a really flavor-packed gravy and gravy made with milk will be richer (but a little sweet for my taste).
Butter: Adding a bit of butter after the gravy has thickened will make it silky-smooth and rich.
Freshly squeezed lemon juice: Lemon juice is totally optional, but if you taste the gravy and it tastes a little flat to you, just a tiny squeeze of lemon will brighten up the flavor without making it taste lemony.
A fine-mesh strainer: Finally, straining your gravy through a fine-mesh strainer will make sure your gravy is perfectly smooth and creamy with no lumps or solid bits.
How to Make Gravy From Drippings


Start by pouring off all but two tablespoons of fat from your pan (I like to reserve the rest of the drippings just in case something goes wrong or for later use), leaving any solid, stuck-on bits in the pan.


Heat over medium-high heat until any remaining solids are golden brown. Watch out, the fat will splatter during this step. Just turn the heat down if it’s splattering too much.
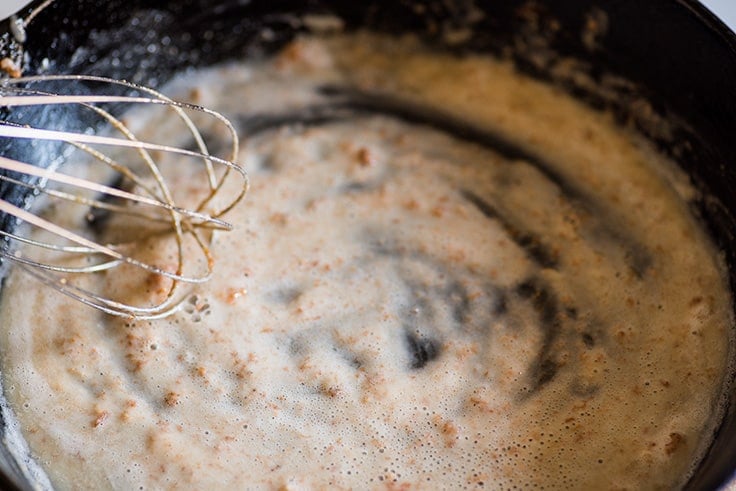

Whisk in flour and cook until lightly golden, about 30 seconds to a minute.

Very slowly at first, pour in water, broth, or milk, whisking out any lumps as they form. Once the flour seems incorporated, you can speed up your pour.
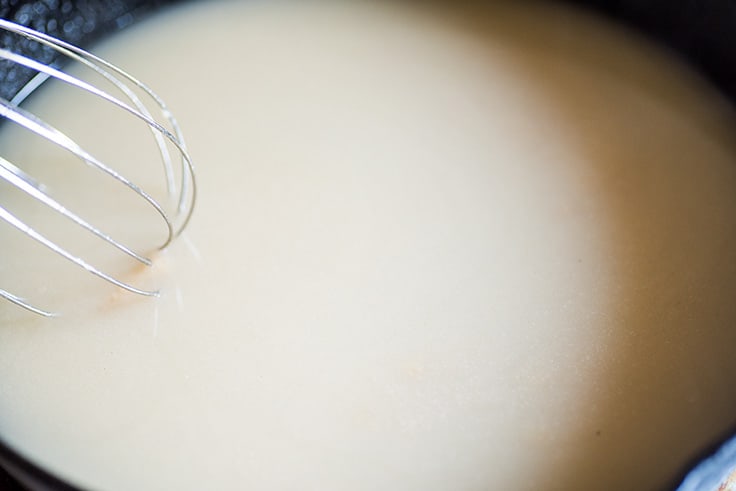
Cook, whisking continuously for 5 to 8 minutes (possibly longer if making a larger batch), until gravy is thickened and bubbly.
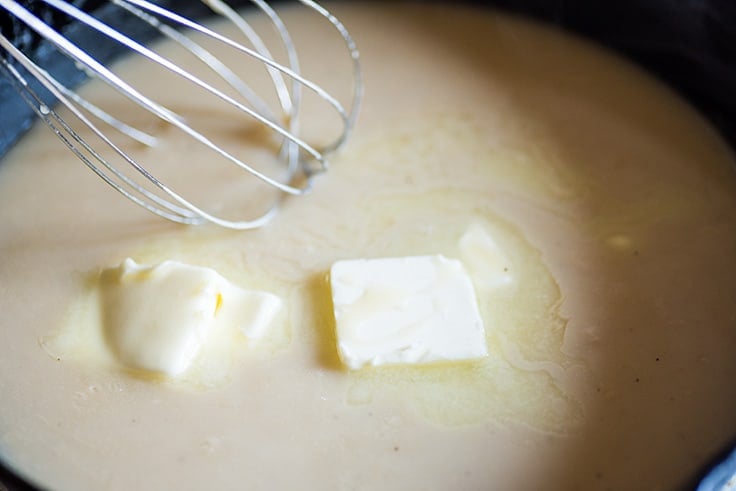

Turn stove off and whisk in butter and salt and pepper to taste. If desired, add a small squeeze of lemon to taste.
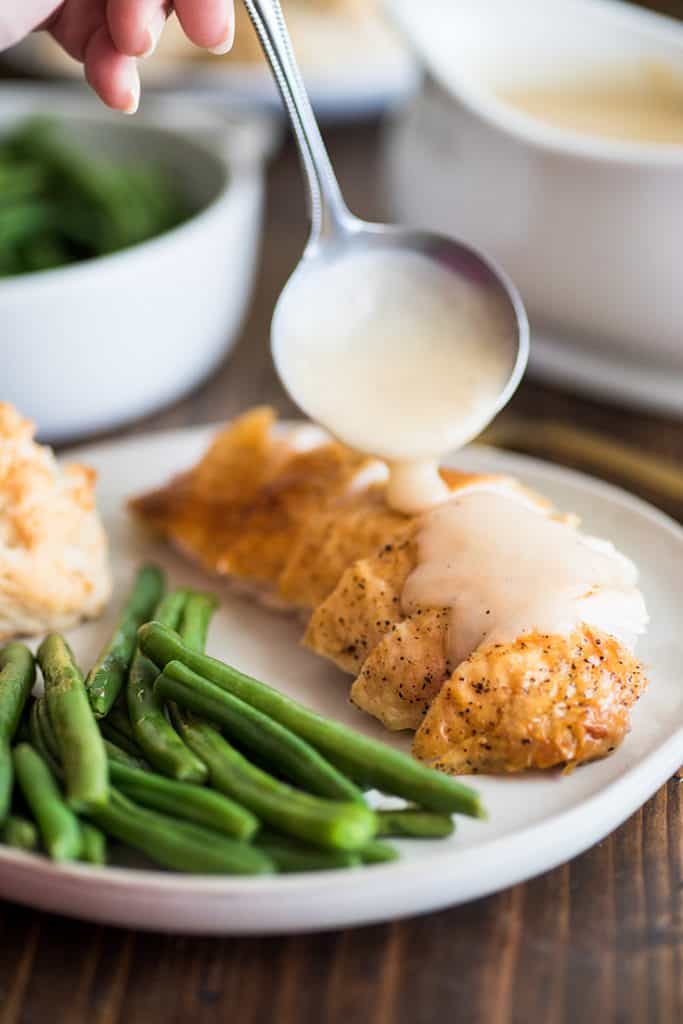
Serve over Roast Chicken , Cooked Chicken Breasts , Mashed Potatoes , biscuits or anything else that sounds good topped with gravy.

Gravy From Pan Drippings Recipe Notes
- If your roux (fat and flour mixture) comes out lumpy and does not look like the roux in the photo, don’t worry. You probably had a lot of cooking liquid in with the fat and it evaporated during the browning step. Just make sure to whisk in the water/broth/milk slowly to get rid of the lumps and your gravy will be just fine.
For more How-to Tutorials, you might also enjoy:
How to Cook Chicken Breast for Salads and Sandwiches How to Cook Shredded Chicken How to Cook Chicken for Recipes
Ingredients
Special Equipment
- ▢ Fine-mesh Strainer
Gravy From Drippings
- ▢ 2 tablespoons fat from pan drippings
- ▢ 2 tablespoons ( 15g ) all-purpose flour
- ▢ 2 cups water or chicken broth or milk
- ▢ 4 tablespoons ( 2oz ) salted butter
- ▢ Salt and pepper to taste
- ▢ Freshly squeezed lemon juice to taste optional
Instructions
If Cooking in Original Roasting Pan/Skillet
- Pour off all but 2 tablespoons of fat from skillet, retaining any browned solid bits in the pan.
If Transferring Drippings to Skillet
- In a large skillet, add 2 tablespoons of fat from pan drippings. Scrape solid, browned bits from the original cooking pan and add them to the skillet (skip this step if you don’t have a fine-mesh strainer).
Gravy From Drippings
- Heat fat over medium-high heat. Bring to a simmer and cook until any solid bits in the drippings are well-browned. Add flour and whisk until lightly golden, 30 seconds to 1 minute. Slowly pour in the water/broth/milk, whisking out any lumps as they form.
- Whisk continuously until thickened, 5 to 8 minutes. Add butter and, if desired, lemon juice to taste—just enough to brighten up the flavor a little. Add salt and pepper to taste.
- Strain gravy through fine-mesh strainer if desired. Serve and enjoy!
Notes

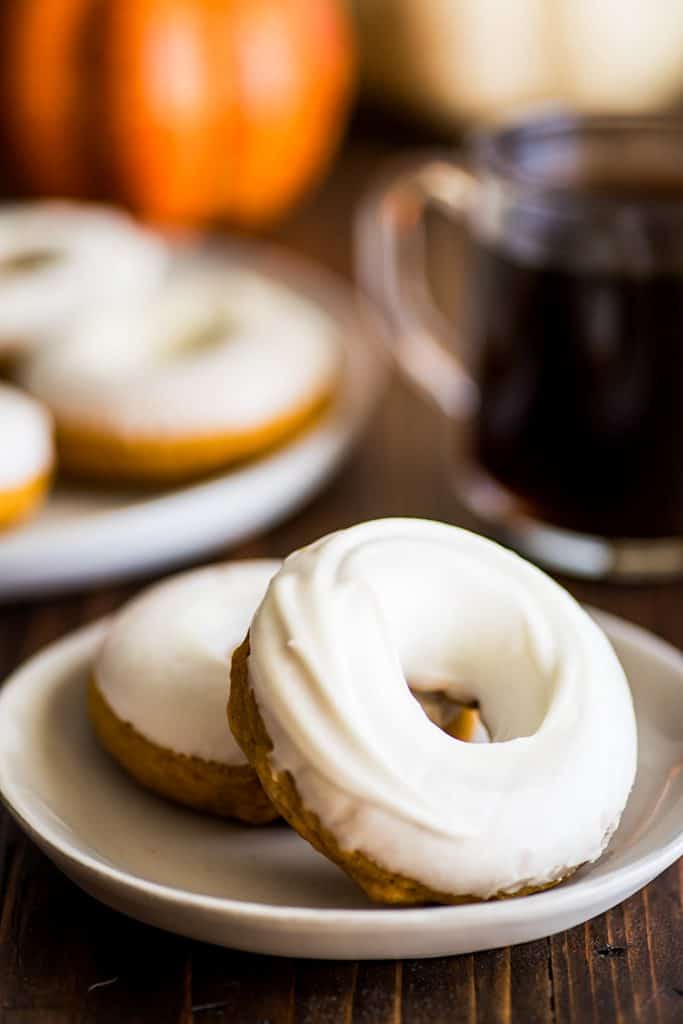
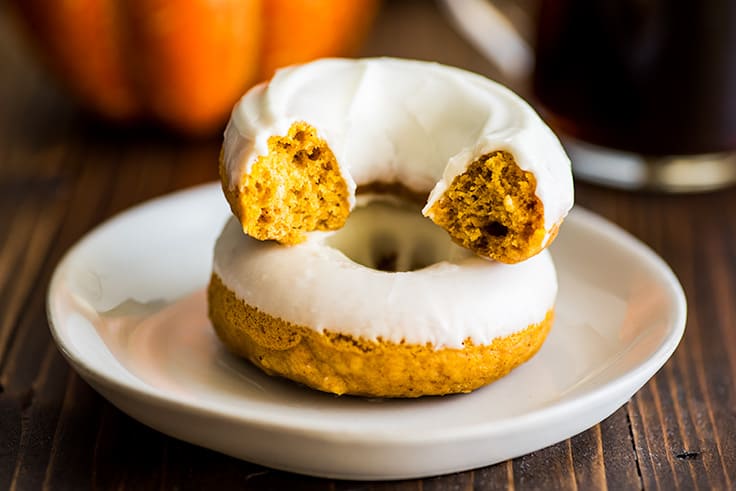
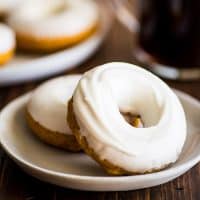
Soft, moist, spicy, and EASY baked pumpkin donuts with a decadent cream cheese glaze. These donuts are the perfect indulgent treat for fall mornings.

Hey, friends. Today is a very exciting day around here. Because today is the day I’m posting the first Baking Mischief pumpkin recipe of the summer fall!!
I know, I know, it’s a little early for pumpkin.
Originally, I had an apple recipe scheduled for you today, but that recipe is a little tricky, so I wanted to test it one more time before sharing.
So today, you’re getting pumpkin, and you’re going to like it.
No seriously, you’re really going to like it, because this pumpkin recipe is Pumpkin Donuts with CREAM CHEESE GLAZE.

Say it with me, CREAM CHEESE GLAZE.
Every fall that there has been a Baking Mischief, I’ve posted a pumpkin donut recipe.
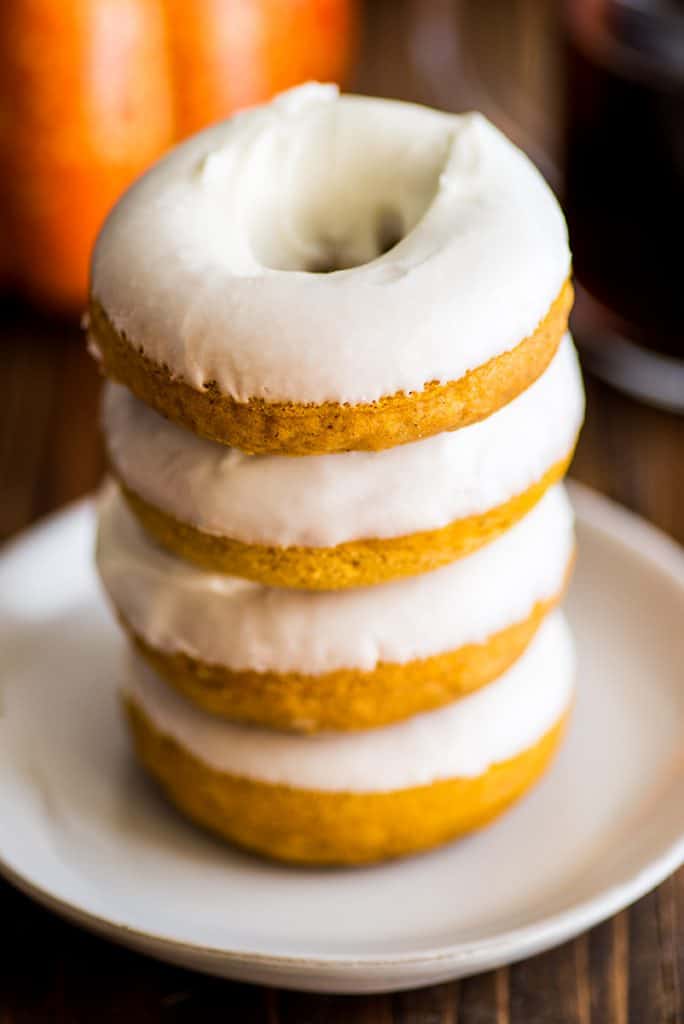
They’re all made on the same baked pumpkin donut base that’s soft, moist, springy, spicy, and PERFECT. (Also, alarmingly easy. Don’t send me angry emails if you find yourself making them way too often this fall.)
Year one was Pumpkin Donuts With Maple Glaze . Year two was Cinnamon Sugar Pumpkin Donuts .
And this year, year three, is the best one yet, at least according to my taste testers.
I’ve had the same taste testers every year (thanks, fam), and every year, they update their fav rankings.
These Pumpkin Donuts With Cream Cheese Glaze are their current number one.
And I’m really not surprised. They love cream cheese, and if you love cream cheese, you’re going to love this glaze.

The Cream Cheese Glaze
Oh, this cream cheese glaze. It’s a little buttery, very cream cheesy, sweet, tangy, and best of all, it sets. You’ll want to spoon it over everything. Cookies , cakes , strawberries–I’m making myself hungry…
Just be sure to read the recipe carefully. Because of the added moisture of the cream cheese, this glaze is a little more finicky than straight powdered sugar and milk glazes.
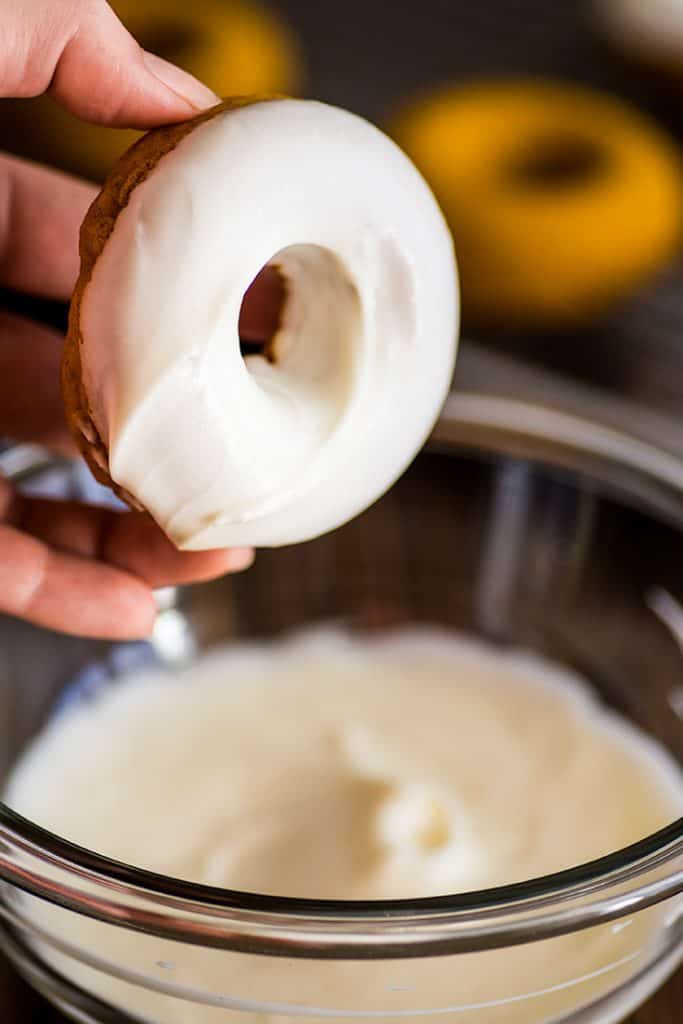
You can’t add too much milk, or the glaze won’t set, so it’s thicker and will give you a more textured look (which you can see in the photos) than a lot of donut glazes.
It is not hard to make (at all), but I just want you to be aware going in.
Anyway, if you are cream cheese and pumpkin lover (or you love someone who is), the next time you’re at the store, grab a block of cream cheese and a can of pumpkin, and immediately come home and make these.
They’re simple, delicious, and really, the best possible start to fall.

Pumpkin Donuts With Cream Cheese Glaze Recipe Notes
- If you don’t already own a donut pan, this is the one I own and would highly recommend.
- Donuts can also be made in a regular muffin tin or mini muffin tin , baked at the same temperature, until tops spring back when pressed with a finger or a toothpick inserted into the center comes out with just a few moist crumbs.
- Again, be sure to read the cream cheese glaze notes carefully regarding adding milk. If you add too much milk, the glaze will take forever to set or will not set at all.
- This recipe will not use up an entire can of pumpkin puree. For ideas on what to do with the leftovers, read What to Do With Leftover Pumpkin Puree .
- Looking for more pumpkin and cream cheese recipes? Try this Mini Pumpkin Cake and Small-batch Pumpkin Cupcakes .
Ingredients
Special Equipment
- ▢ Donut Pan or mini muffin tin
Baked Pumpkin Donuts
- ▢ 2 tablespoons ( 1oz ) butter *
- ▢ 1 cup ( 120g ) all-purpose flour
- ▢ 1 teaspoon baking powder
- ▢ 1/2 teaspoon cinnamon *
- ▢ 1/8 teaspoon ground ginger
- ▢ 1/8 teaspoon ground nutmeg
- ▢ Pinch ground cloves
- ▢ 1/4 teaspoon salt
- ▢ 1/3 cup ( 81g ) pumpkin puree
- ▢ 1/3 cup ( 66g ) brown sugar
- ▢ 1 large egg
- ▢ 1/4 cup milk any percentage
Cream Cheese Glaze
- ▢ 2 ounces cream cheese softened
- ▢ 2 tablespoons ( 1oz ) butter softened
- ▢ 1 cup ( 120g ) powdered sugar sifted
- ▢ 1 to 2 teaspoons milk any percentage
Instructions
- Preheat your oven to 350°F and grease donut pan.
- In a small, microwave-safe bowl, melt butter in the microwave and set aside to cool slightly.
- In small bowl, whisk together flour, baking powder, cinnamon, ginger, nutmeg, cloves, and salt.
- In a large bowl, combine pumpkin puree, brown sugar, egg, milk, and slightly cooled melted butter. Whisk until well-combined.
- Add flour mixture to the pumpkin mixture and use a spoon to stir until just mixed.
- Transfer batter to a piping bag (or disposable plastic bag and cut off one of the corners) and pipe batter into the prepared donut pan, filling rings 3/4 of the way full—this should make almost exactly 6 donuts.
- Bake for 9 to 11 minutes, until a toothpick inserted into the center of the donuts comes out with just a few moist crumbs or the tops of the donuts just spring back when pressed with a finger.
- Cool the donuts in the donut pan until cool enough to handle and then turn donuts out onto a cooking rack to cool completely before glazing.
Cream Cheese Glaze
- In a medium bowl, combine softened cream cheese and butter. Beat until smooth.
- Add powdered sugar and 1 teaspoon of milk. Beat until smooth.
- Whisk in milk by the 1/4 teaspoon until mixture resembles a thin frosting, thin enough for dipping but not pourable. (I usually use exactly 1 1/2 teaspoon milk TOTAL.) Do not add too much or your glaze will not set.
- Dip donuts in glaze and twist them a few times to make sure they are well-coated. Smooth the topping slightly with your finger. Allow to set for 15 to 20 minutes.
- Serve and enjoy!
Notes
Donuts Adapted From Live Well Bake Often
Carnitas Nacho Fries are the perfect party food. They’re easy, stress-free, and a total crowd-pleaser.

You all know I’ve been on a bit of a carnitas kick the last few months.
I posted both (stove top) Carnitas and Slow Cooker Carnitas , along with Carnitas Tacos , Carnitas Enchiladas , and Carnitas Burrito Bowls to use up all that crispy, gorgeous meat.
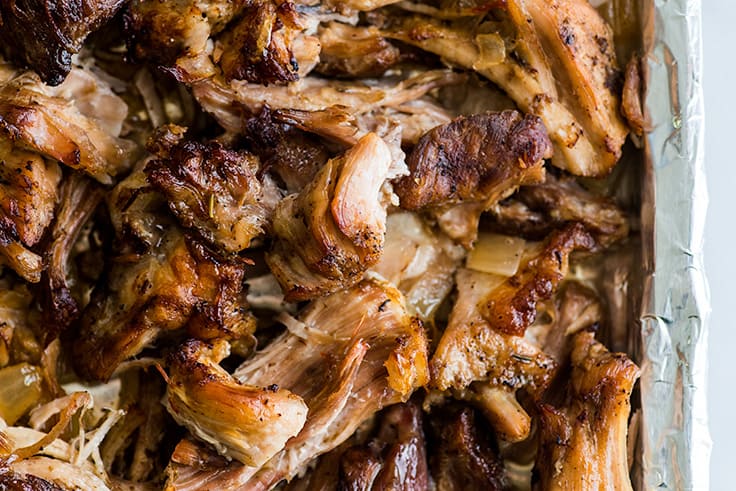

I have one final (for now) carnitas recipe for you today, and it’s possibly my favorite because it’s so good/ridiculous/extra: Carnitas Nacho Fries.
Yes, that is a bunch of random good food words all smashed together, and yes, you absolutely need Carnitas Nachos Fries in your life. They are beautiful and wonderful and all things excellent in the world.
You should make them, and you should share them with friends because this is not eat-alone food.
This is make a big batch, set it out on the counter and let everyone grab cheesy, meat-covered fries while you chat food.
If people are gathering at your place (and they are people you like), you should do something nice for them and feed them nacho fries.
How to Make Carnitas Nacho Fries
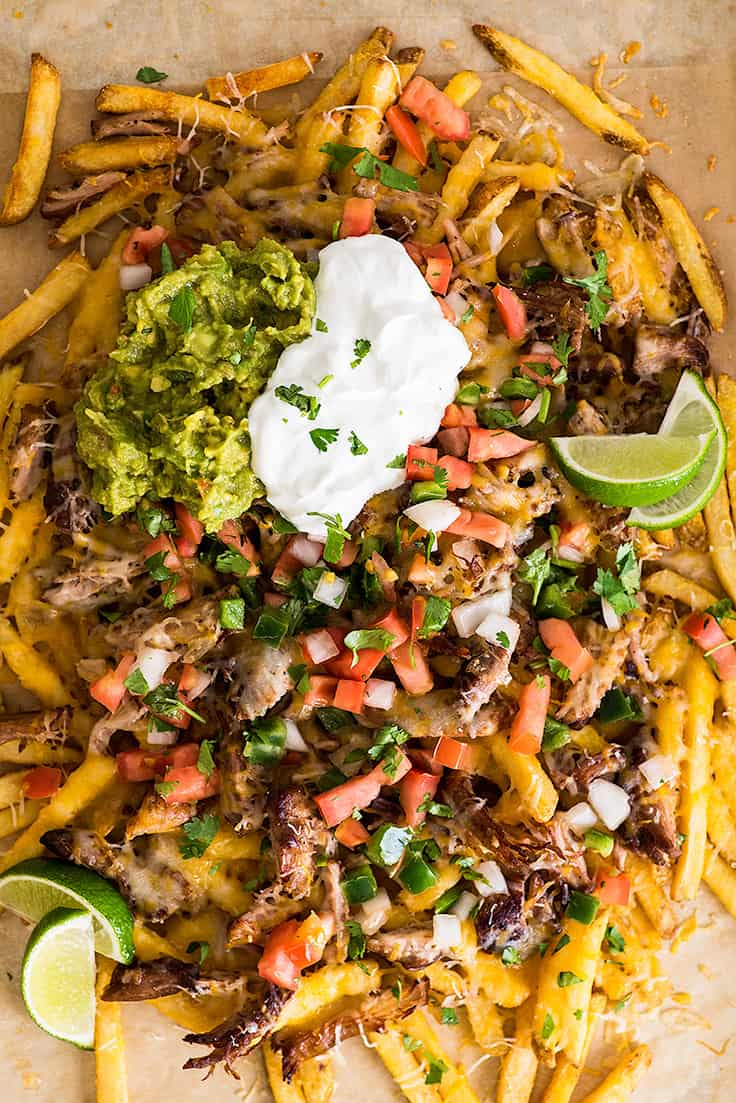
Nacho fries are super easy and low-stress to make. You just need a warm batch of cooked carnitas, homemade (highly recommended) or store-bought, a bag of frozen french fries, and nacho toppings.
I went super basic with my toppings: cheese, pico de gallo , guac, and sour cream, but add whatever sounds good to you: beans, olives, corn, cheese sauce, etc.
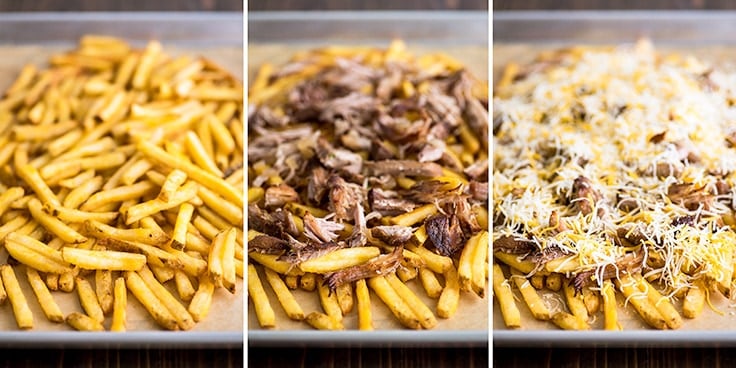

- Bake the fries until they’re just shy of being perfectly crispy and add your hot and melty nacho ingredients: carnitas, cheese, and anything else you want warm.
- Pop the fries back in the oven and bake for just a few minutes until the cheese is melted and gooey. Once the cheese is melted, remove from oven, add the cold toppings, and you’re good to go. Serve immediately and tell everyone to dig in.

Carnitas Nacho Recipe Notes
- Nacho fries are best eaten immediately after cooking.
- If you’re making homemade carnitas for this dish, you can cook them the day before if it’s more convenient (carnitas actually taste better on the second day). Just reheat before adding to the nachos.
- Looking for more easy recipes for entertaining? Try Oven-roasted Tri-tip , Country-style Pork Ribs , Carne Asada Fries , and Snickerdoodles .

Ingredients
- ▢ 1 28-ounce bag frozen fries
- ▢ 2 1/2 cups cooked carnitas
- ▢ 1 to 2 cups shredded cheese
- ▢ 1 cup pico de gallo
- ▢ 1/2 cup sour cream
- ▢ 1/2 cup guacamole
- ▢ chopped cilantro optional
- ▢ Lime wedges optional
Instructions
- Line a baking sheet with parchment paper and bake your fries according to package instructions, until just done.
- Set oven temperature to 350°F.
- Top cooked fries with warm carnitas and cheese, and return fries to the oven until cheese is melted, 5 to 7 minutes.
- Add guacamole, pico de gallo, and sour cream. Sprinkle with cilantro if desired.
- Serve and enjoy!’
Notes

How to Make Gravy From Drippings
Ingredients
Special Equipment
- Fine-mesh Strainer
Gravy From Drippings
- 2 tablespoons fat from pan drippings
- 2 tablespoons ( 15g ) all-purpose flour
- 2 cups water or chicken broth or milk
- 4 tablespoons ( 2oz ) salted butter
- Salt and pepper to taste
- Freshly squeezed lemon juice to taste optional
Instructions
If Cooking in Original Roasting Pan/Skillet
- Pour off all but 2 tablespoons of fat from skillet, retaining any browned solid bits in the pan.
If Transferring Drippings to Skillet
- In a large skillet, add 2 tablespoons of fat from pan drippings. Scrape solid, browned bits from the original cooking pan and add them to the skillet (skip this step if you don’t have a fine-mesh strainer).
Gravy From Drippings
- Heat fat over medium-high heat. Bring to a simmer and cook until any solid bits in the drippings are well-browned. Add flour and whisk until lightly golden, 30 seconds to 1 minute. Slowly pour in the water/broth/milk, whisking out any lumps as they form.
- Whisk continuously until thickened, 5 to 8 minutes. Add butter and, if desired, lemon juice to taste—just enough to brighten up the flavor a little. Add salt and pepper to taste.
- Strain gravy through fine-mesh strainer if desired. Serve and enjoy!
