These were my favorite Baking Mischief recipes of 2018.
<img loading=“lazy” src=“https://i2.wp.com/bakingmischief.com/wp-content/uploads/2018/12/favorite-posts-2018-683x1024.jpg" onerror=“this.onerror=null;this.src=‘https://blogger.googleusercontent.com/img/a/AVvXsEhe7F7TRXHtjiKvHb5vS7DmnxvpHiDyoYyYvm1nHB3Qp2_w3BnM6A2eq4v7FYxCC9bfZt3a9vIMtAYEKUiaDQbHMg-ViyGmRIj39MLp0bGFfgfYw1Dc9q_H-T0wiTm3l0Uq42dETrN9eC8aGJ9_IORZsxST1AcLR7np1koOfcc7tnHa4S8Mwz_xD9d0=s16000';" alt=“Collage photo of food images with text: “My favorite recipes of 2018” - 1”>
Hey, friends. Happy last few days of 2018! I hope your holidays have been merry.
This will be my last post of 2018, and as I do at the end of every December, I’ve compiled a list of my favorite posts of the year. (Here are my favorite recipes list of 2016 and favorites of 2017 ).
It was hard narrowing it down, but I managed (with only a little cheating), and I think this might be my favorite group of recipes yet.
I hope you’ve also enjoyed some of these recipes this year, and if not, please give them a try. Maybe some of them will make your favorites list for 2019.
Have a safe and happy New Year’s Eve, and I’ll see you all next year.
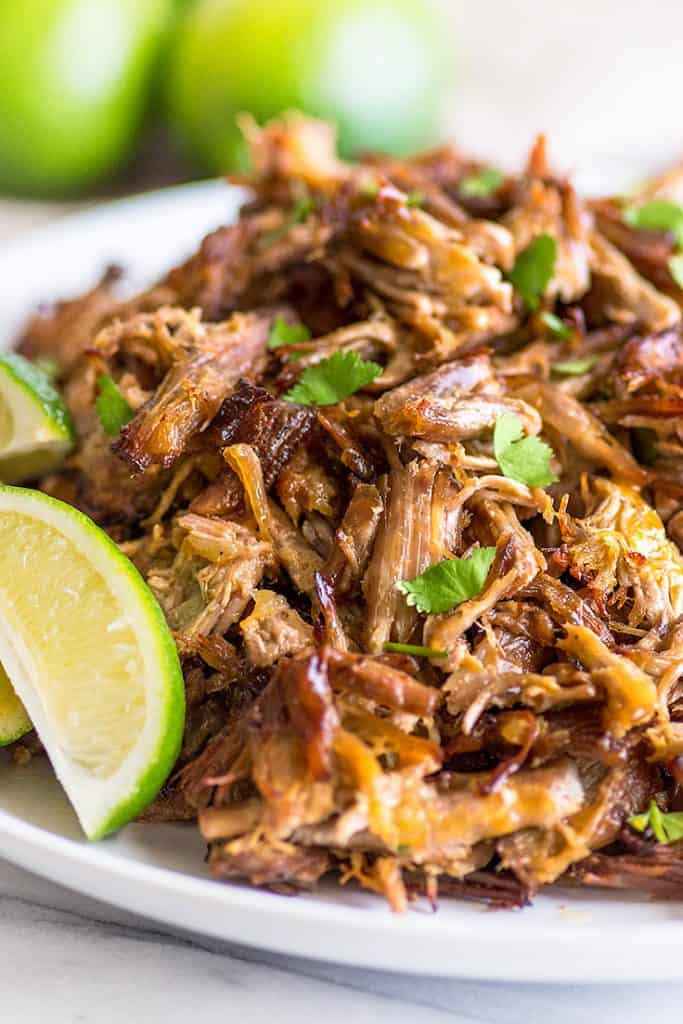

Every year I have a recipe I love that just doesn’t get a ton of traffic. In 2016 is was my Pumpkin Donuts with Maple Glaze , 2017 was these Homemade Pudding Pops , and this year it was these perfect, amazing, crispy Carnitas .
I love this recipe so much that I also made a Slow Cooker Carnitas version AND made them into Carnitas Tacos , Carnitas Enchiladas , Carnitas Burrito Bowls , and Carnitas Nacho Fries . The carnitas posts haven’t been unpopular, but considering how much I love them, they’re not nearly as popular as I think they should be.
GO MAKE THEM, FRIENDS!!

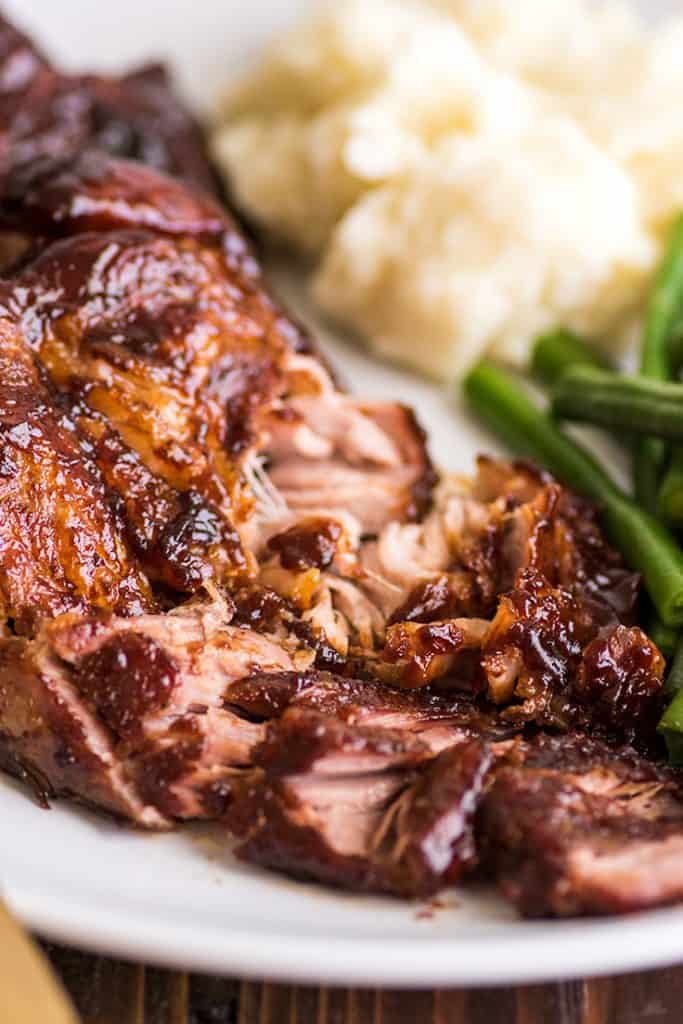

These Country-style Pork Ribs are my new go-to BBQ recipe. Sure they take a while to cook, but that cooking time is almost totally hands-off, and they are so fall-apart amazing, I’d say they’re more than worth the wait.
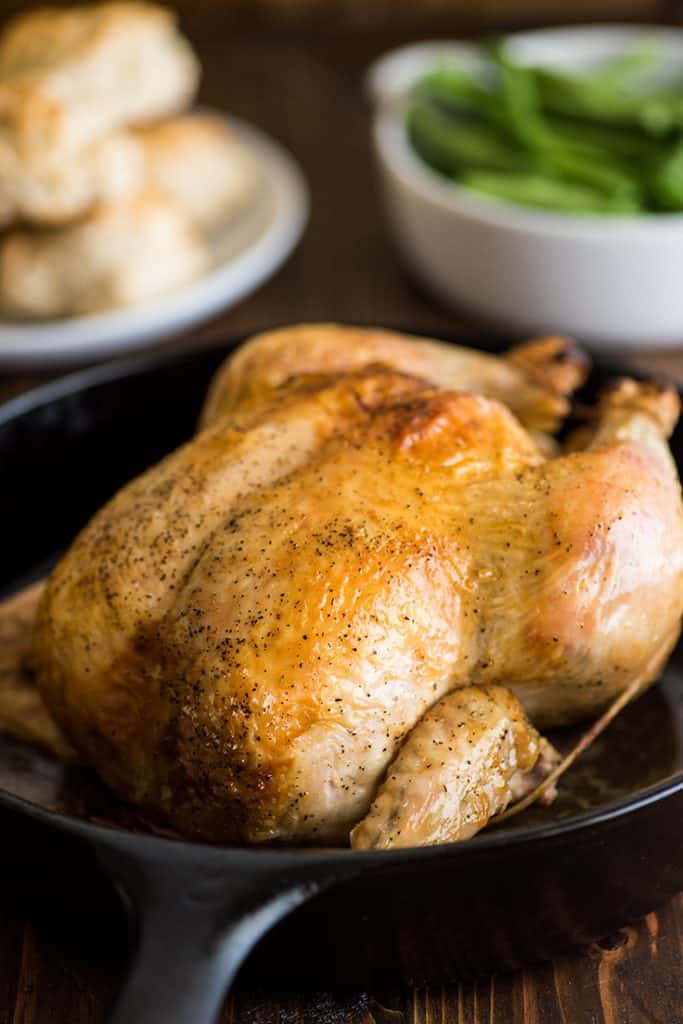

I’m pretty sure my Roast Chicken Guide is the longest post I wrote this year. It’s the complete guide to roasting a chicken I wish I’d had when I started cooking, and I’m super proud of it. Plus, it makes a superb moist chicken with the crispiest skin.


This Baked Ziti recipe is written for two, but it’s become one of my favorite super easy recipes to make for family dinners, so I always double it. It’s easy, completely fool-proof, and comes out of the oven SO beautiful and bubbly. Also, it tastes amazing.
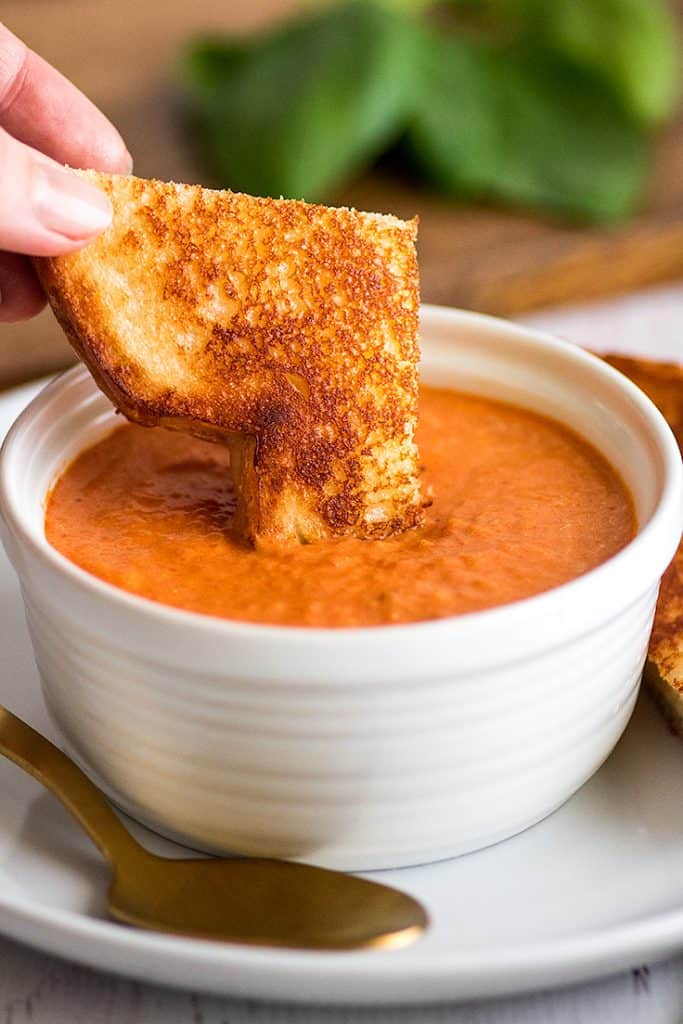

Honestly, like half of my favorite meals of 2018 were a bowl of this Tomato Soup and a grilled cheese sandwich on a chilly evening. You just can’t beat it for cozy comfort food.
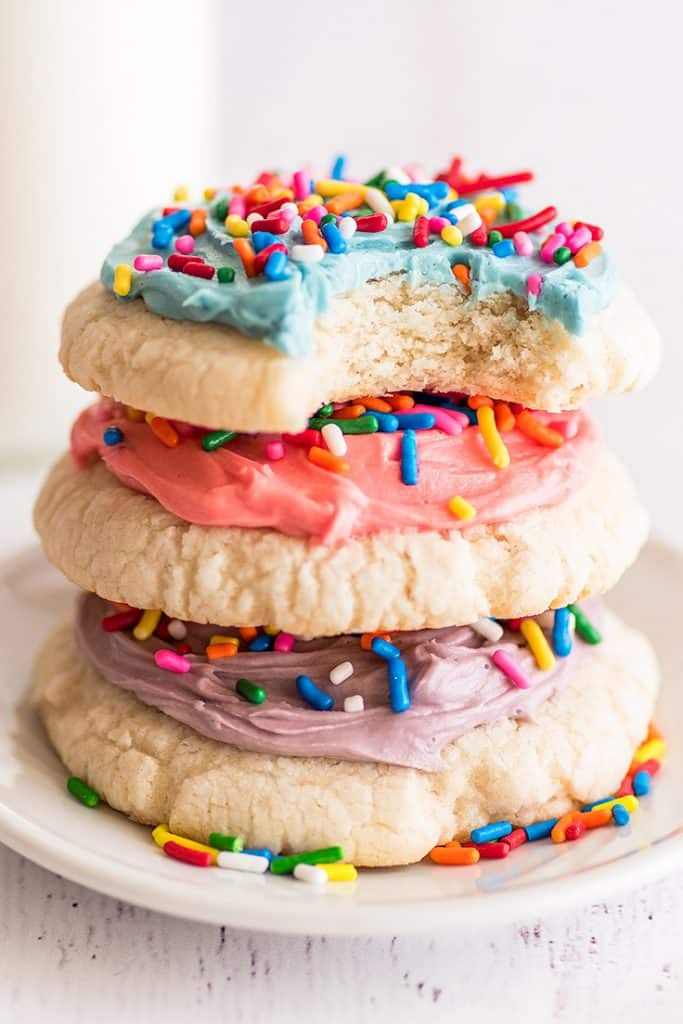

These Frosted Sugar Cookies and Small-batch Sugar Cookies were my food kryptonite this year. I tested both recipes a ton and every single time I made a batch I had to pack them up and give them away or freeze them immediately because I could not help myself around them. They are so addicting and I love and hate them in equal measure.


I think these Chocolate Banana Muffins are my favorite sweet recipe I made this year. And this is coming from someone who’s only meh on bananas.
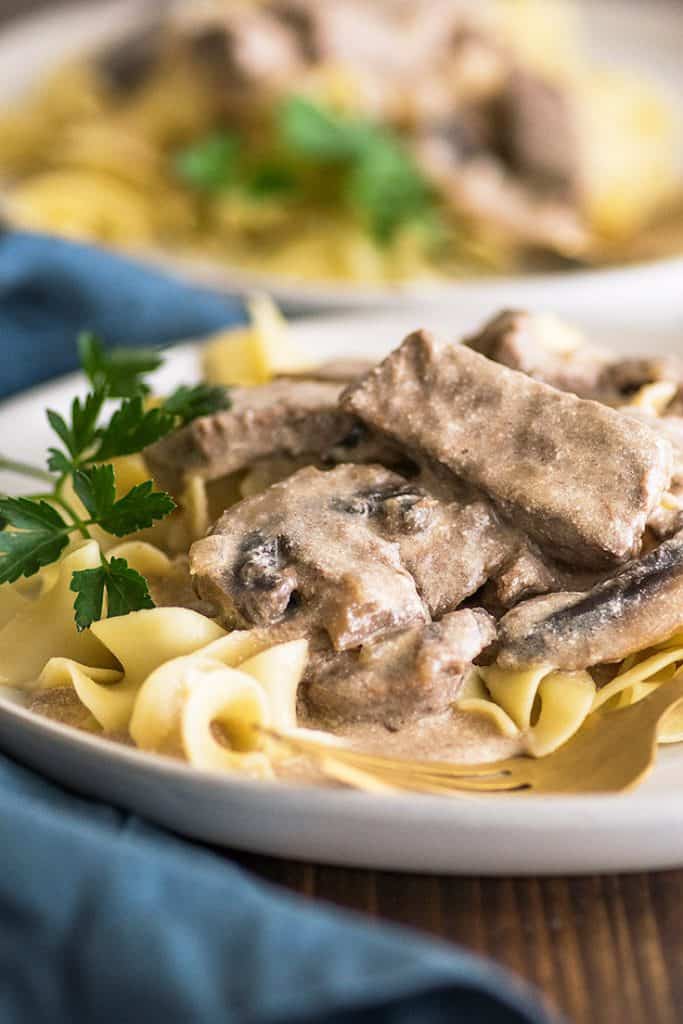

Stroganoff is my all-time favorite recipe since childhood. It was never not going to make my top recipes of the year.
I do hate the pictures in that post though…
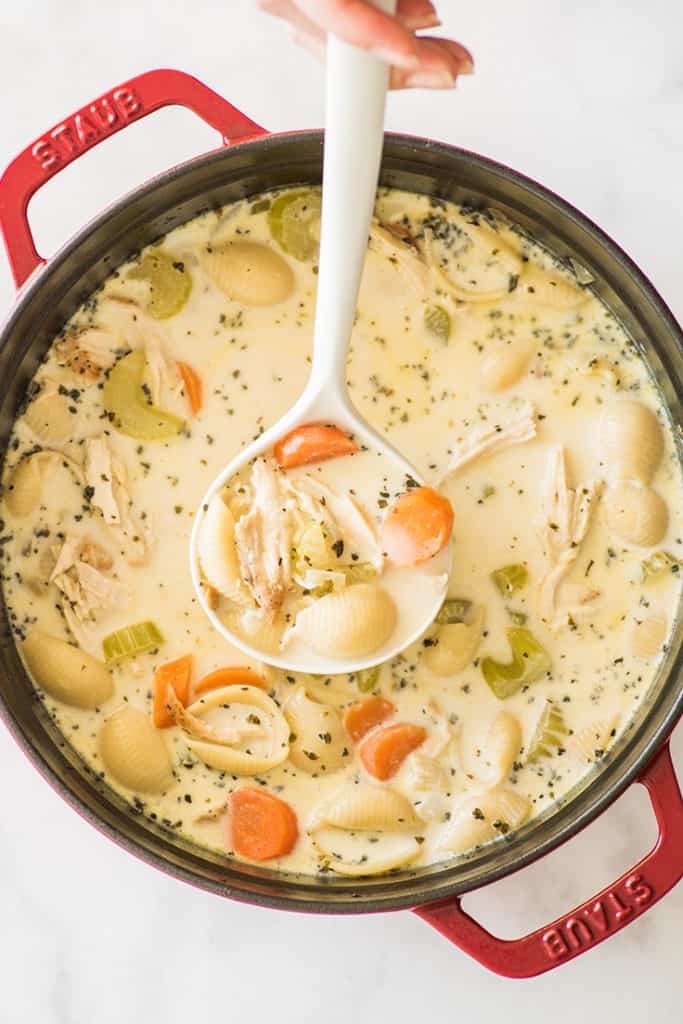

And finally, Creamy Chicken Noodle Soup is my most-made soup of Fall/Winter 2018. It’s just so easy and cozy that it’s found its way onto my menu plan pretty much every other week since I started testing it.
This single-serve rice krispie treat you can make in the microwave is insanely easy to throw together and just as good as the ones you remember from childhood.


I have a few microwave recipes on the site ( Broccoli in the Microwave , Green Beans in the Microwave , and Cauliflower in the Microwave ) and judging by their popularity, you guys really seem to like them.
So I have another microwave recipe for you today, but this one’s a little more dangerous than broccoli, a Single-serve Rice Krispie Treat in the Microwave.
I apologize in advance if you find yourself making this way too often because it’s insanely easy to make and just as good as the ones you remember from childhood.
How to make a Single-serve Rice Krispie Treat in the Microwave
To start, you’ll need a microwave-safe bowl or over-sized mug.
This is not going to make a 12-ounce rice krispie treat, not even close, but your marshmallows are going to expand a lot when you microwave them, and you want room to stir in cereal.
So go big or clean up a mess later.
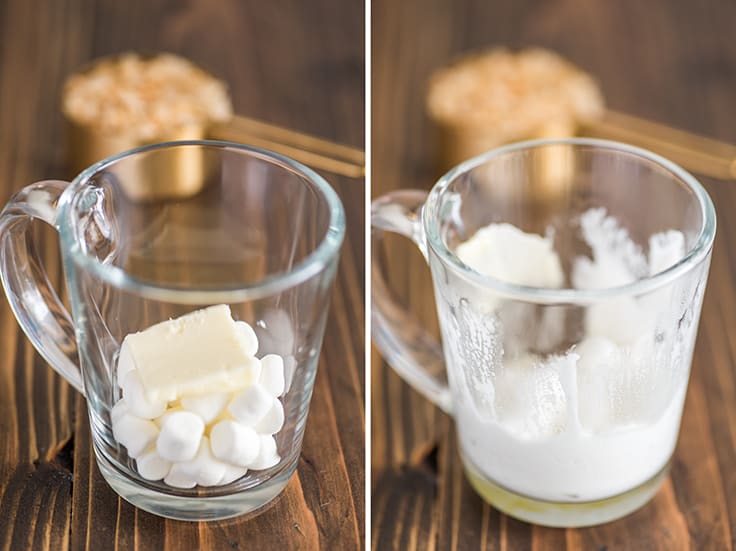

Put a third of a cup of marshmallows in the mug with about a half a tablespoon of butter (that’s 1 1/2 teaspoons or better, 7 grams if you have a kitchen scale ) it doesn’t need to be exact. Just eyeball it and go light on the butter rather than heavy.
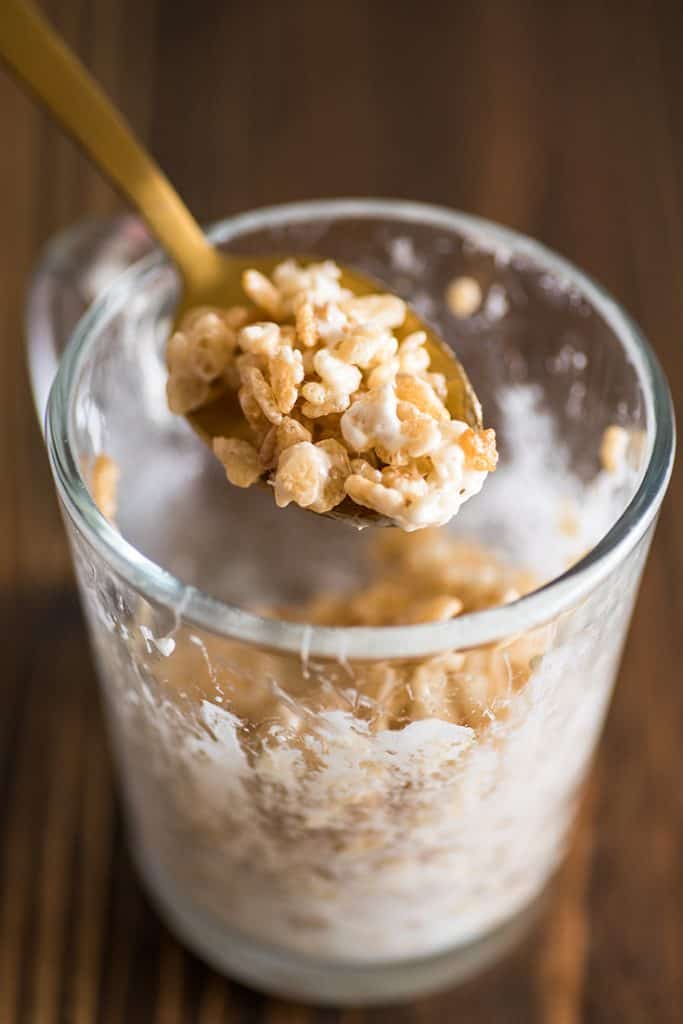
Then just microwave everything until the marshmallows puff way up, about 20 to 30 seconds. Stir until the marshmallows and butter form a mostly uniform goo at the bottom of your cup and then add your cereal and stir to coat.
If you like gooey rice krispies treats, you can eat it just like this, with a spoon.

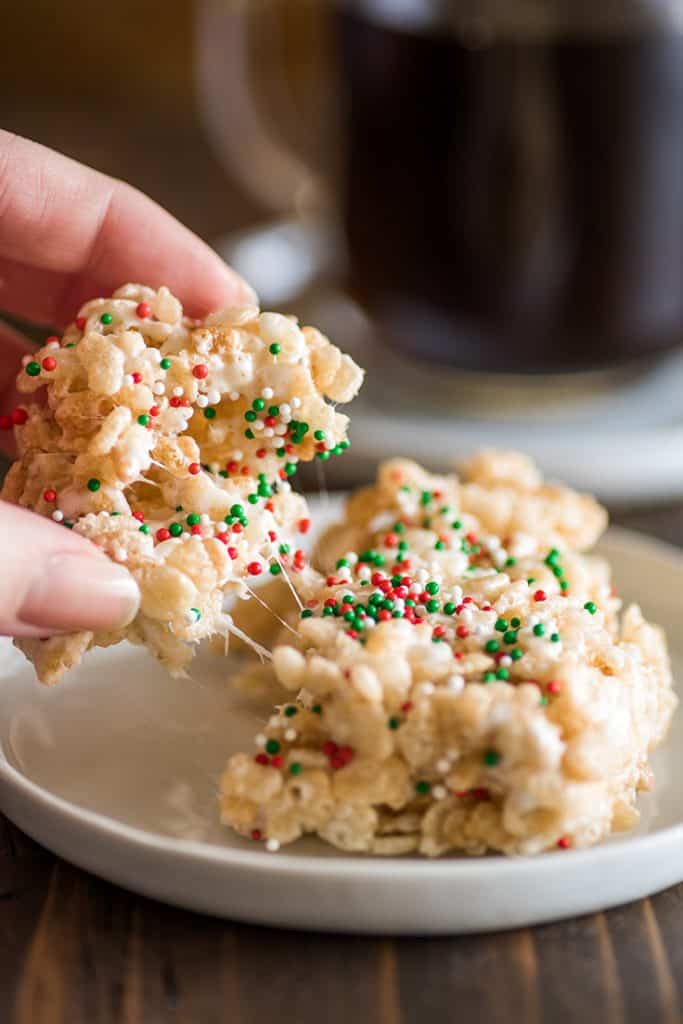
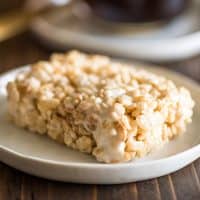
OR scrape the cereal out onto a sheet of parchment paper and shape into a bar.


This is sticky work, so use a couple of butter knives to do the job or fold the edges of the parchment paper up to squeeze the cereal into a nice rectangle.
Then just let it sit until the marshmallows set (or for as long as you can stand it), maybe top with some festive sprinkles, and enjoy.

Rice Krispie Treat Recipe Notes
- This recipe will work for almost any kind of kiddie cereal. I highly recommend giving it a try with Fruit Loops.
- If you are craving a cereal bar but don’t usually keep cereal around the house, they sell single-serving containers of cereal at most grocery and convenience stores. You can get 2 to 3 bars out of them.
- Looking for more microwave desserts? Try 30-second Chocolate Sauce , Peanut Butter Sauce , and Nutella Sauce .
- This recipe scales easily and doubles or triples with no preparation changes needed.
Ingredients
Special Equipment
- ▢ Parchment paper optional
Rice Krispie Treat
- ▢ 1/3 cup mini marshmallows *
- ▢ 1/2 tablespoon butter
- ▢ 1/2 cup Rice Krispies cereal or any cereal you prefer
Instructions
- In an over-sized mug or microwave-safe bowl, combine marshmallows and butter. Microwave for 20 to 30 seconds, until marshmallows are puffed up and melty.
- Stir until marshmallows and butter are mixed. Add cereal and stir until completely coated.
- Enjoy warm out of the mug or scoop mixture out onto a piece of parchment paper. Shape cereal into a bar by folding up the edges of the paper or using two knives to squish the mixture into shape. Allow to set and enjoy.
Notes
This recipe for One Peanut Butter Cookie makes a 6-inch cookie that’s the perfect size for sharing (or not) and is almost dangerously easy to make.

Feeling like your day could use a little peanut butter pick-me-up?
You could probably use a peanut butter cookie…a really big peanut butter cookie.
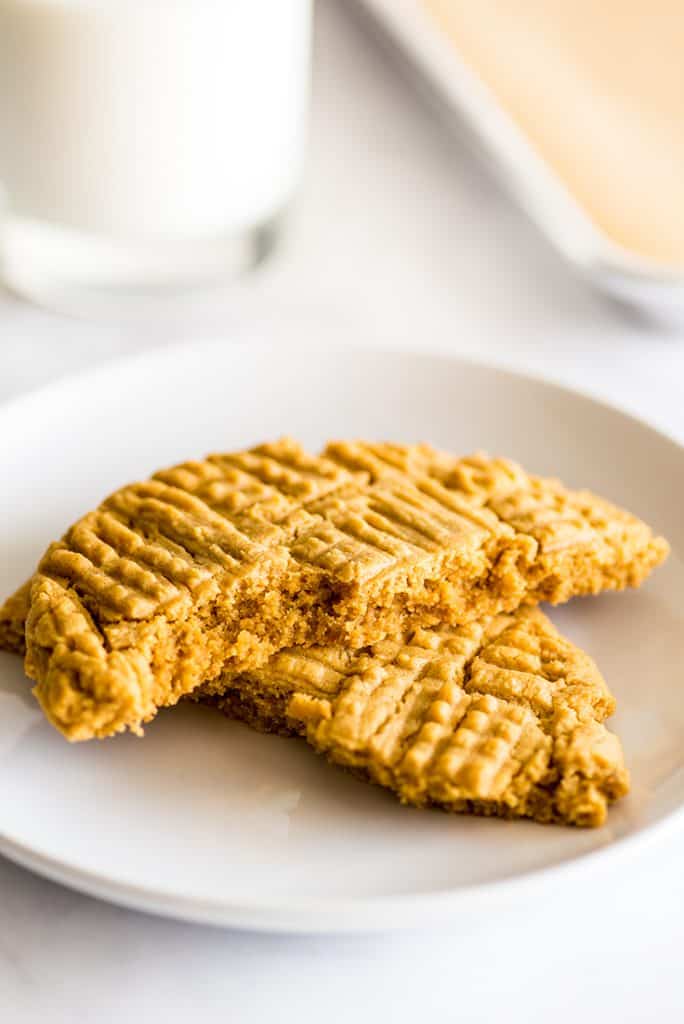

A Really Big Peanut Butter Cookie
At 6 to 7 inches across (about the size of your hand with fingers outstretched), this cookie’s the perfect size for sharing (or not) and dangerously easy to make. You’ll just need:
- Peanut butter
- Melted butter
- One egg yolk
- Standard cookie basics (flour, sugar, baking soda, etc.)
Since this recipe uses melted butter and you don’t need to bring your egg yolk to room temperature, it takes next to no time to make. You can whip up the cookie dough and have it ready to go by the time your oven’s done preheating.

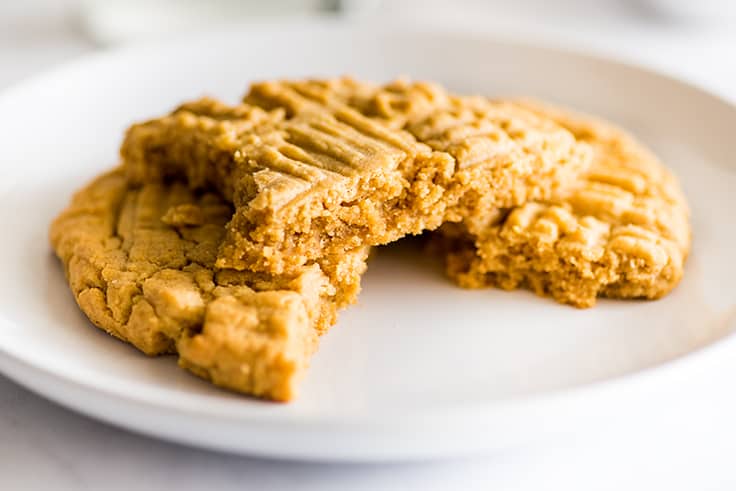
The finished cookie is dense and very peanut buttery. The texture is the ideal combo of crumbly and chewy with edges that are just a little crispy. (This is a mini version of these Small-batch Peanut Butter Cookies , so if you’ve tried and like those, you like this.)
If you love a softer, gooier peanut butter cookie, you can slightly underbake the dough, and if crunchy is more your style, adding a minute or two to the maximum cooking time will produce a crunchier cookie.
Cookie Trouble Shooting
Really small-batch cookies like these are much less forgiving than larger batches because you’re working with such small amounts of ingredients. For best results, be sure to measure your flour by weight or using the spoon and sweep method as described in the recipe.
Occasionally, even when you do everything right, something will go wonky. This usually happens when you get a particularly large or small egg yolk, so you end up with dough that’s too wet or too crumbly. If that happens, here are a couple troubleshooting tips:
- Dough is too wet: This dough should be easy to handle and roll into a ball. If it is too sticky, add up to 1 and 1/2 tablespoons more flour, until you can handle the dough.
- Dough is too dry/crumbly: If the dough won’t come together, add milk by the half teaspoon, just enough so that everything comes together and there are no dry bits of flour at the bottom of the bowl.

Peanut Butter Cookie Recipe Notes
- Feel like making a peanut butter cookie sundae? Top the warm cookie with a couple scoops of ice cream and Easy Chocolate Sauce or Quick Peanut Butter Sauce and Whipped Cream .
- Please note, the cookie in these photos was shot on a quarter baking sheet , not standard. It will be 6-7 inches across, not cookie-pizza sized.
- For more desserts for two , try Small-batch Chocolate Chip Cookies , Chocolate Soufflés , Small-batch Peanut Butter Oatmeal Cookies, and Small-batch Cupcakes .
Ingredients
- ▢ 3 tablespoons ( 50g ) peanut butter (creamy or chunky, not natural peanut butter)
- ▢ 1 tablespoon ( 14g ) salted butter melted
- ▢ 2 tablespoons ( 25g ) brown sugar
- ▢ 1 tablespoon ( 13g ) granulated sugar
- ▢ 1 large egg yolk
- ▢ 1/4 teaspoon vanilla extract
- ▢ 1/4 cup ( 30g ) all-purpose flour measured by weight or using the spoon and sweep method*
- ▢ 1/8 teaspoon baking soda
- ▢ Pinch of salt if using unsalted butter, use 1/8 teaspoon
Instructions
- Preheat your oven to 350°F and line a baking sheet with parchment paper or silicone baking mat.
- In a small bowl, whisk together peanut butter, melted butter, brown and granulated sugar, egg yolk, and vanilla until well-combined.
- Add flour, baking soda, and salt, and use a spoon to stir until just combined.
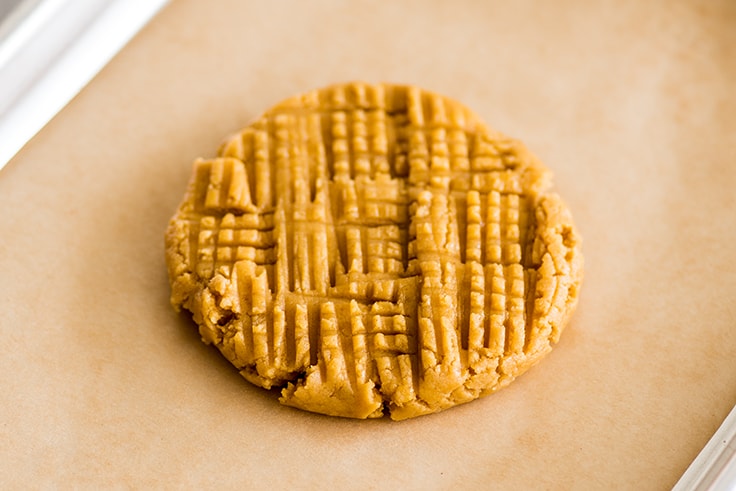
- Form cookie dough into a ball and place on prepared baking sheet. Use a fork to press crosshatch patterns over the dough until pressed to about 1/2-inch thick (the cookie will spread more as it bakes).
- Bake for 12 to 14 minutes, until the edges of the cookie are just beginning to darken and the top looks set. Cool on the baking sheet for at least 10 minutes so the cookie has time to firm up. Serve and enjoy!
