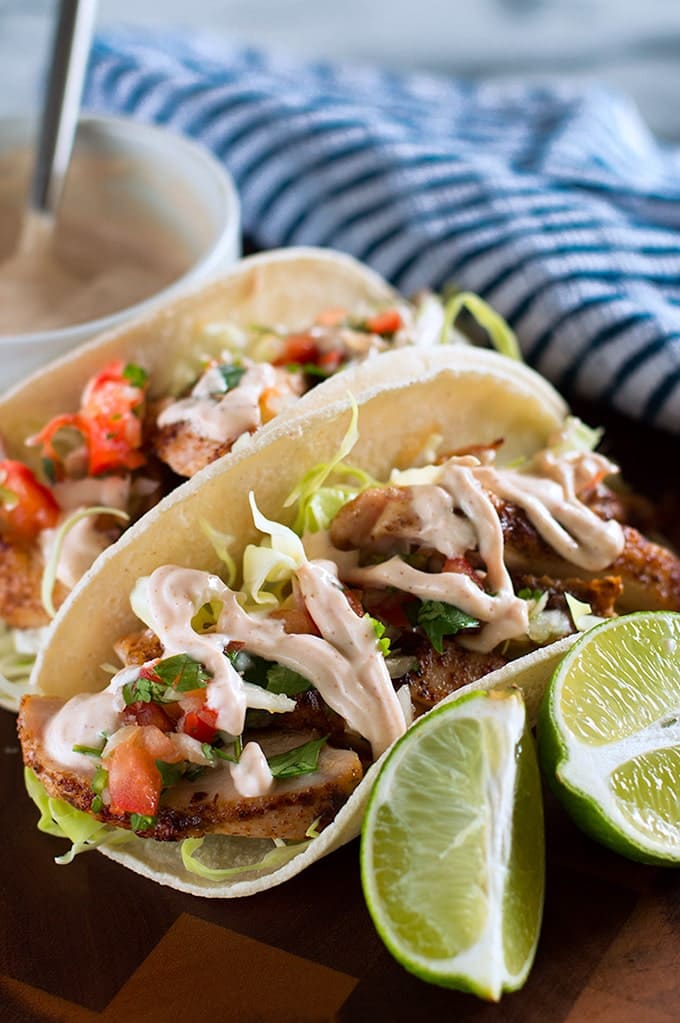
Chipotle Chicken Tacos with Yogurt Sauce make a fabulous easy dinner that’s light on calories and heavy on flavor!

Can you believe that Baking Mischief is more than a year old and I’ve never posted a single taco recipe!? Well, that ends today, because I’m sharing Chipotle Chicken Tacos with Yogurt Sauce!
These are a copycat recipe for the Chipotle Chicken Tacos from one of my favorite local taco joints, and it’s a pretty successful recreation (if I do say so myself). I even managed to healthy them up a bit.

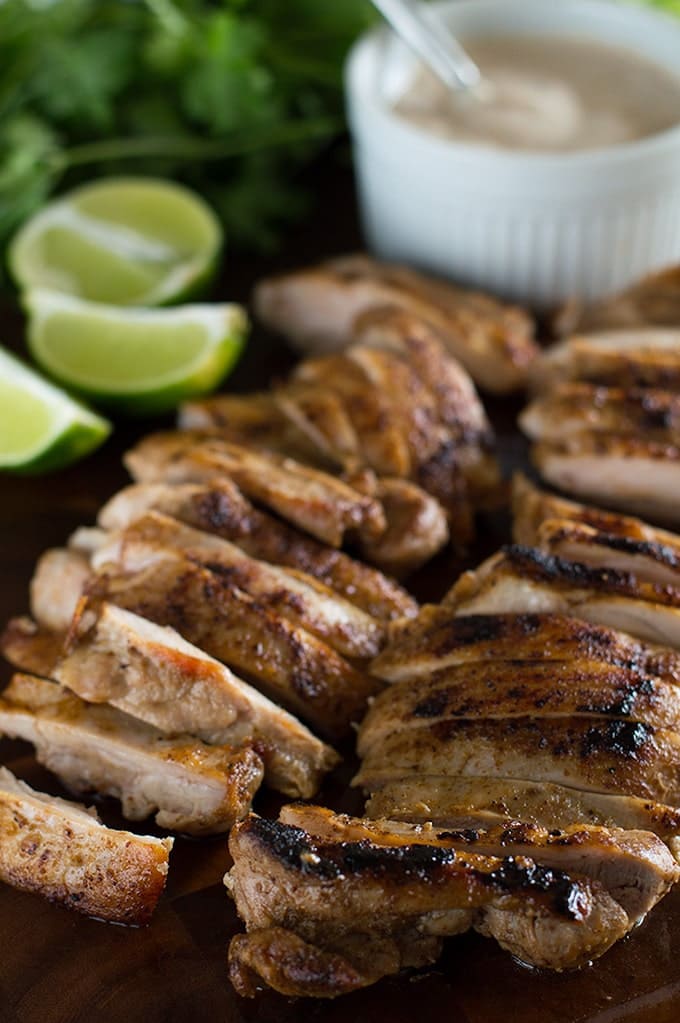
For the meat, I used boneless skinless chicken thighs since they give the best, moistest texture without a lot of fuss and cook up quick.
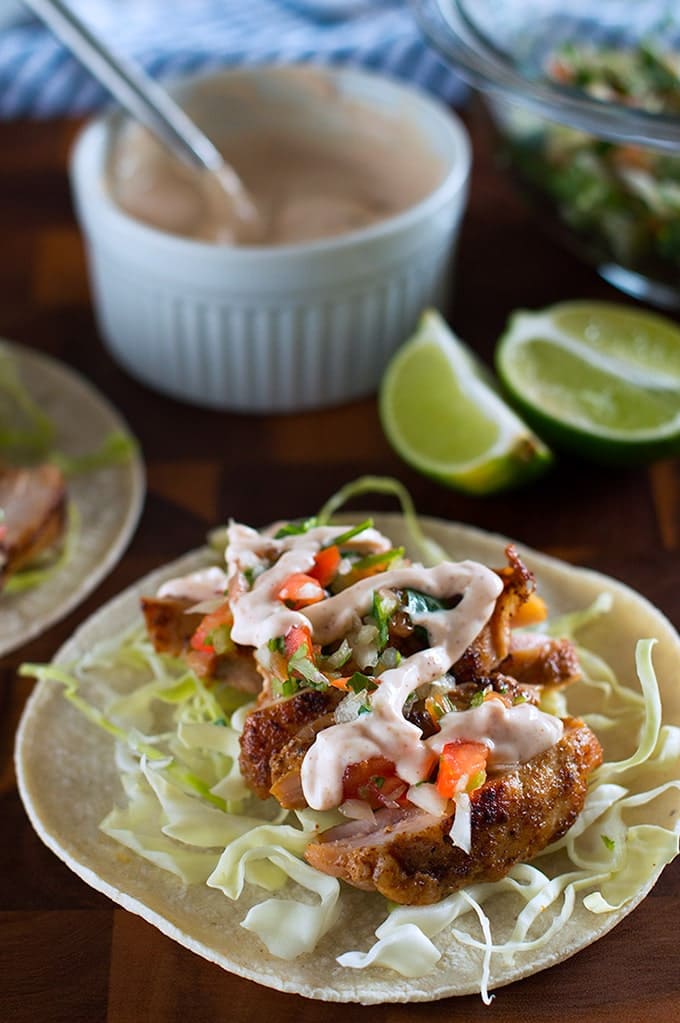
Then the chicken gets served over a bed of shredded cabbage and topped with homemade Pico de Gallo (or store-bought if you don’t feel like chopping), and chipotle yogurt sauce. And it’s soooo good!
When it’s paired with strong flavors like chipotle and lime, the “yogurt” taste is very minimal, and instead feels more like just a rich and delicious sauce you can slather over your tacos without guilt.
It’s a shame it took so long for Baking Mischief to finally get a taco recipe, but I think this one was worth waiting for. 🙂

You Might Also Enjoy
- Crispy Slow Cooker Carnitas
- Carne Asada
- Chicken Fajita Sandwiches
- Carne Asada Tacos
- Freezer Burritos
- Salsa Chicken
As written, this Chipotle Chicken Taco recipe serves 2. To change the recipe yield, hover over the number of servings in the recipe card (or click if you are on mobile) and slide the slider–see recipe notes on serving size.
Ingredients
Chicken
- ▢ 2 large or 4 small boneless skinless chicken thighs
- ▢ 2 tablespoons olive oil
- ▢ 1/4 teaspoon salt
- ▢ 1/4 teaspoon chili powder
- ▢ 1/4 teaspoon cumin
- ▢ 1/8 teaspoon pepper
Tacos
- ▢ 4 corn tortillas
- ▢ 1 cup Pico de gallo
- ▢ 2 cups thinly sliced cabbage
Chipotle Yogurt Sauce
- ▢ 1 5-ounce container plain Greek yogurt
- ▢ 1 teaspoon sauce from a can of chipotle peppers *
- ▢ Juice from 1/2 lime about 1 1/2 teaspoons juice
- ▢ 1/4 teaspoon cumin
- ▢ 1/4 teaspoon chili powder
- ▢ 1/8 to 1/4 teaspoon salt
- ▢ Pepper to taste
Instructions
Chicken
- In a medium bowl, combine thighs, oil, and spices. Toss to coat. Set aside. Heat a medium frying pan over medium to medium high heat. Once hot, grease with cooking spray and add chicken thighs. Cook until well browned, 2 to 5 minutes. Flip and cook until an instant read thermometer inserted into the center of the thighs reads 160°F, 2 to 5 minutes. (If thighs are large, they may require a longer cooking time.)
- Transfer thighs to a plate. And allow to rest for 5 minutes before slicing.
Sauce
- Combine sauce ingredients and stir together.
Assemble
- Assemble tacos, top with pico de gallo and sauce, and enjoy.
Notes

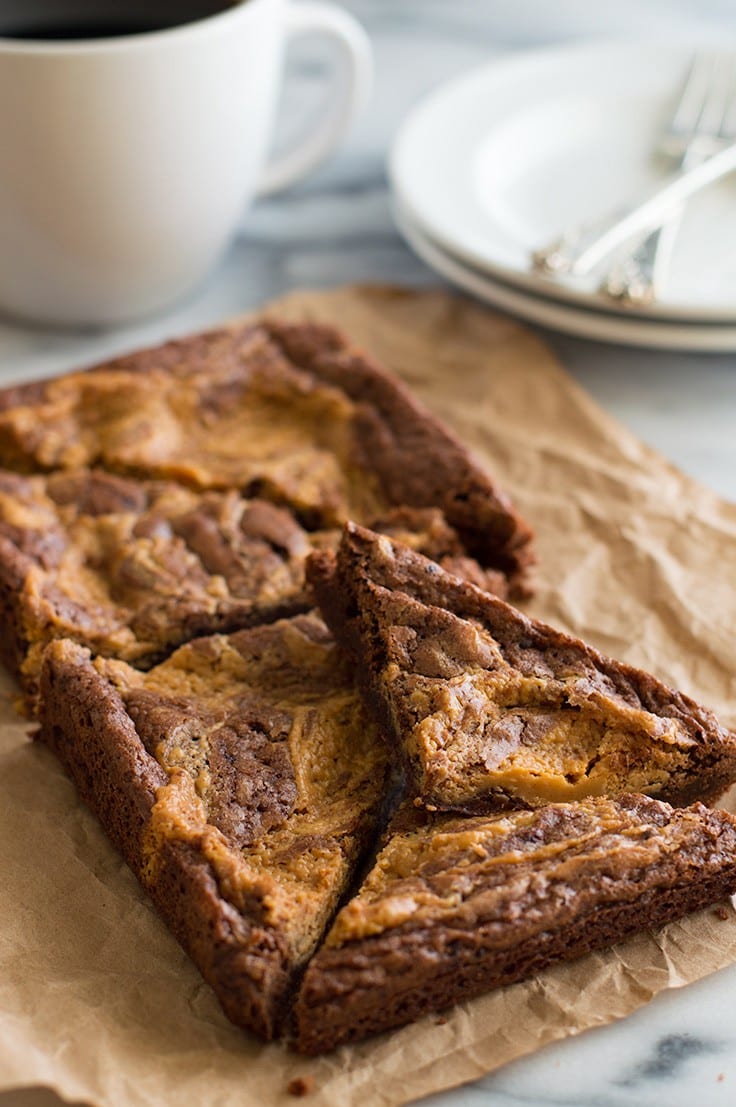
Peanut Butter Swirl Brownies for Two are an easy, rich and chocolatey dessert perfect for peanut butter lovers.

Happy Friday, loves. How was your week? Have any fun weekend plans? I’m taking a quick trip down to LA this weekend to see a play, so I’m suuuper ready for this work week to be over.
Can you believe it’s almost Valentine’s Day? Are you celebrating this year? Well, whether you plan on observing the day or not, I have a little Valentine’s Day gift for all the peanut butter lovers out there, Peanut Butter Swirl Brownies for Two!!!! (This recipe totally deserves the extra exclamation marks.)
And when I say “brownies for two,” I don’t mean that this recipe makes two brownies. It will make 4 to 8 brownies. What I’m saying is that it makes just enough that two people could reasonably eat them over the course of a couple of days without making themselves sick.
Or in one day.
By yourself.
I’m really not going to judge, because these brownies are the best, and I had to freeze the rest of this batch so I wouldn’t eat them all by myself. (Also, that didn’t really help because these brownies are great cold too…)

An-y-ways, the brownie base is my favorite fudgy brownie recipe. It’s simple, made in one bowl, and never ever fails me. Then you mix up a sweet peanut butter filling, swirl it into the brownie batter and bake. Twenty-ish minutes later, the peanut butter swirl brownies come out looking gorgeous and tasting even better.
Like my Buckeye Brownie Cookies and Mini Chocolate Sheet Cake , you’re probably going to be glad this makes just a small batch of brownies, because they are so good that the built-in portion control is pretty handy. Plus, desserts for two are just undeniably cuter than desserts for a crowd. 🙂


Ingredients
Tools
- ▢ 9x5-inch loaf pan
- ▢ Parchment paper
Brownies
- ▢ 1/4 cup ( 2 oz) unsalted butter melted and slightly cooled
- ▢ 1/2 cup ( 100 g) granulated sugar
- ▢ 1 large egg
- ▢ 1/2 teaspoon vanilla extract
- ▢ 3 tablespoons ( 15 g) unsweetened cocoa powder sifted if lumpy
- ▢ 1/4 cup ( 30 g) all-purpose flour
- ▢ 1/8 teaspoon baking powder
- ▢ 1/8 teaspoon salt
Peanut Butter Swirl
- ▢ 1 tablespoon ( .5 oz) unsalted butter melted
- ▢ 2 tablespoons ( 15 g) powdered sugar
- ▢ 3 tablespoons smooth peanut butter
- ▢ 1/8 teaspoon vanilla extract
- ▢ Pinch of salt
Instructions
Brownies
- Preheat your oven to 350°F. Grease a 9x5-inch loaf pan and line with parchment paper.
- In a medium bowl, combine sugar, cooled butter (if it’s too hot, it will scramble your egg), egg, and vanilla. Whisk until well-combined.
- To the same bowl, add flour, cocoa powder, baking powder, and salt. Stir until just combined.
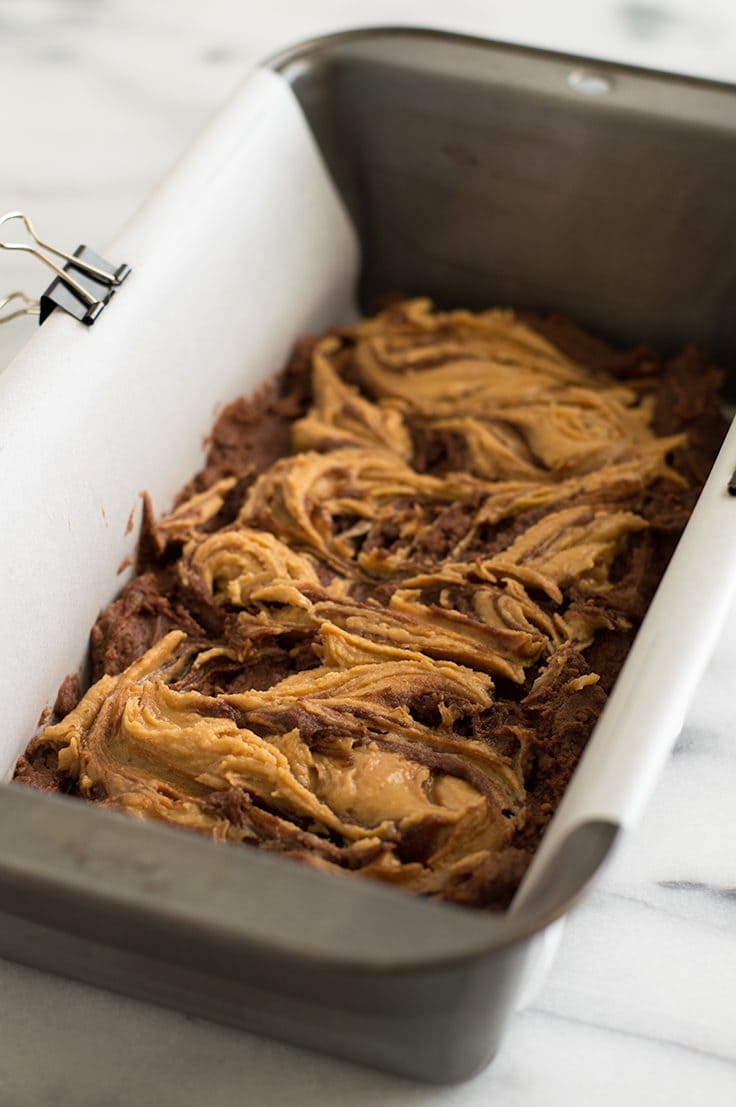
- Transfer mixture to your prepared pan and use a knife to spread the batter so that it mostly covers the bottom of the pan.
Peanut Butter Swirl
- In a small bowl, whisk together peanut butter, melted butter, powdered sugar, vanilla, and salt until well-mixed. Drop the peanut butter mixture by the spoonful over the brownie batter.
- Use a knife to swirl in the peanut butter by drawing 3 horizontal lines down the long side and then making an “S” shape across them.
- Bake for 22 to 25 minutes, until a toothpick inserted into a non-peanut butter section near the middle comes out with just a few crumbs.
- Place brownie pan on a cooling rack and cool for at least 15 minutes before removing the brownies. Slice and enjoy!
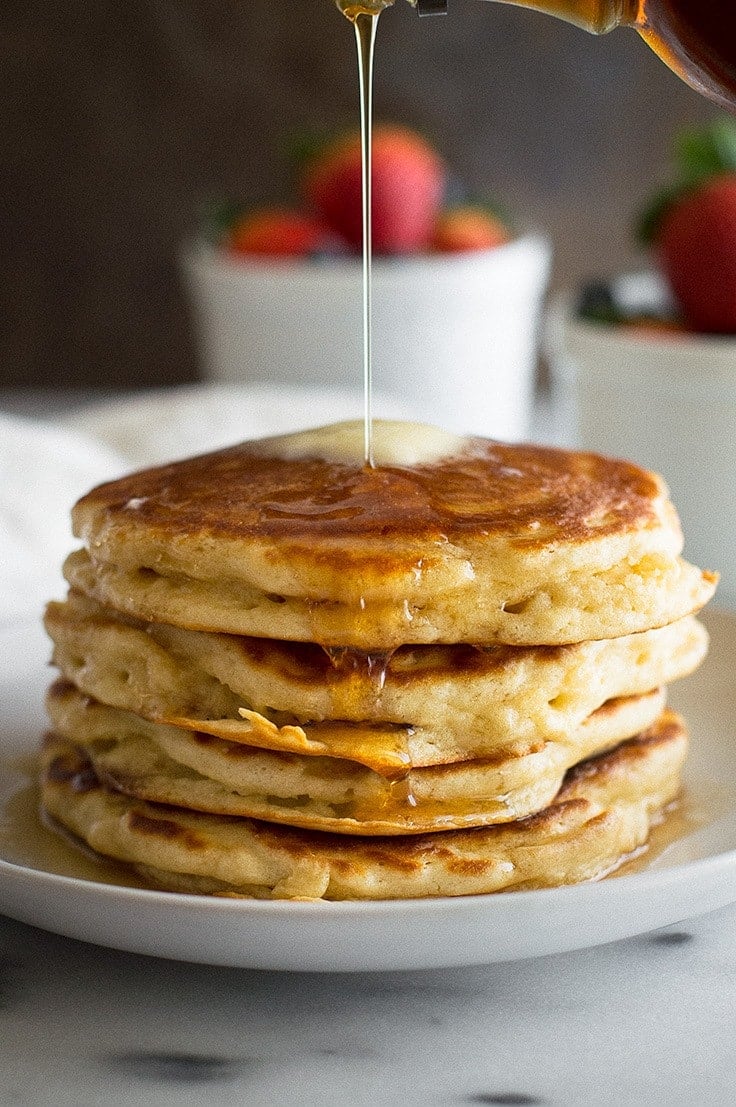
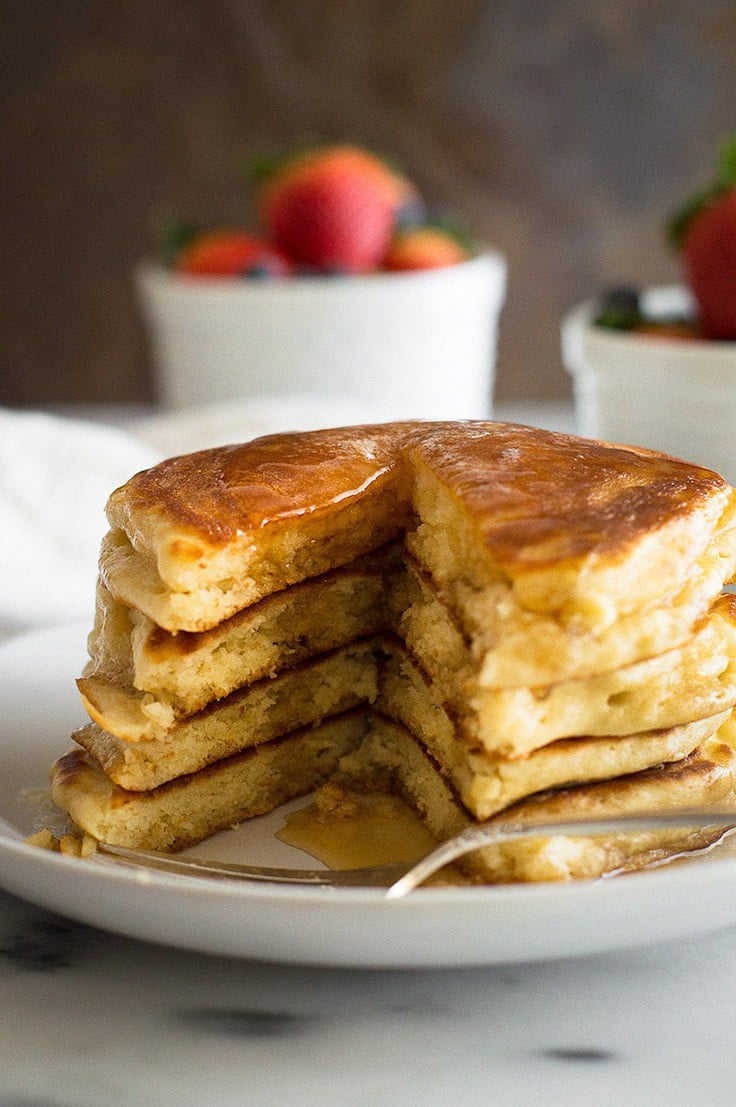
The super simple and easy answer to the question: How to make fluffy buttermilk pancakes (for two).

So, something to know about me is that I love life hacks. I’m a sucker for an article about the perfect way to untangle ear buds, how to use a Raspberry Pi to operate everything in your house, how to never lose a sock again in the dryer (remember when I learned how to shred chicken in a stand mixer ?).
But I’m fully aware that mileage will vary, and most life hacks don’t actually end up being all that life changing. So when an article on how to make the fluffiest pancakes came through my feed reader, I didn’t think much of it. But it was a slow Saturday morning, and I had some buttermilk to use up, so it was the perfect excuse for a pancake science project!
The article posited that you could vastly improve the texture of your pancakes by changing the way and order in which you added eggs to your pancake batter (spoiler alert for that article, their recipe is quite different, so their end results actually differed from mine!).
To test this out, I made three batches of pancakes with my favorite buttermilk pancake recipe as a base. The first batch was made following the original recipe, where an entire egg is added to the liquid ingredients all at once. It’s a great recipe, very fluffy on its own and is my go-to pancake recipe.
For the second batch, I saved the white of the egg until the very end and stirred it in until smooth. I was worried it would overwork the pancake batter, but the resulting pancakes were fantastic. They weren’t visibly any noticeably fluffier, but the texture was lighter.
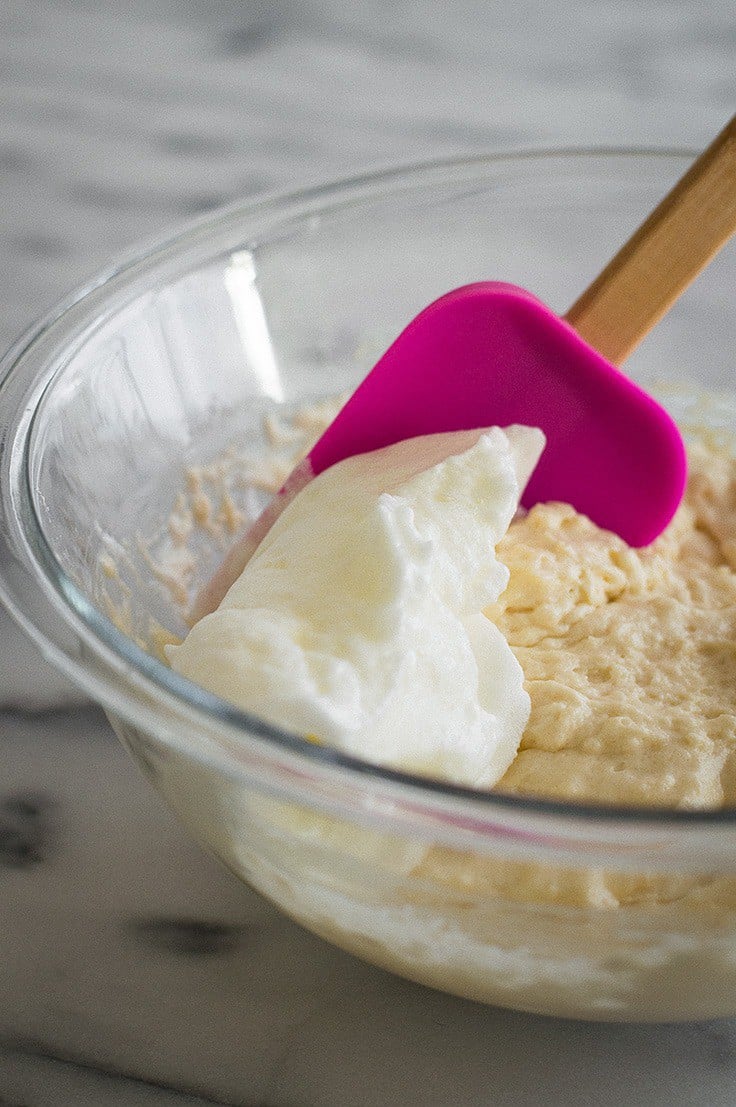

For the final batch, I mixed up everything but the egg white, and then in a small bowl, with an electric mixer, beat the white until stiff peaks formed (it only takes about a minute with one white) and then right before the pancakes went on the griddle, I folded that in. The result: GUYS, THIS IS THE WAY I WILL ALWAYS MAKE MY PANCAKES FROM NOW ON.
The texture of these pancakes is amazing. They are light and fluffy and perfect, like the pancake a waitress with a heart of gold serves you in some charming Midwest diner in heaven.
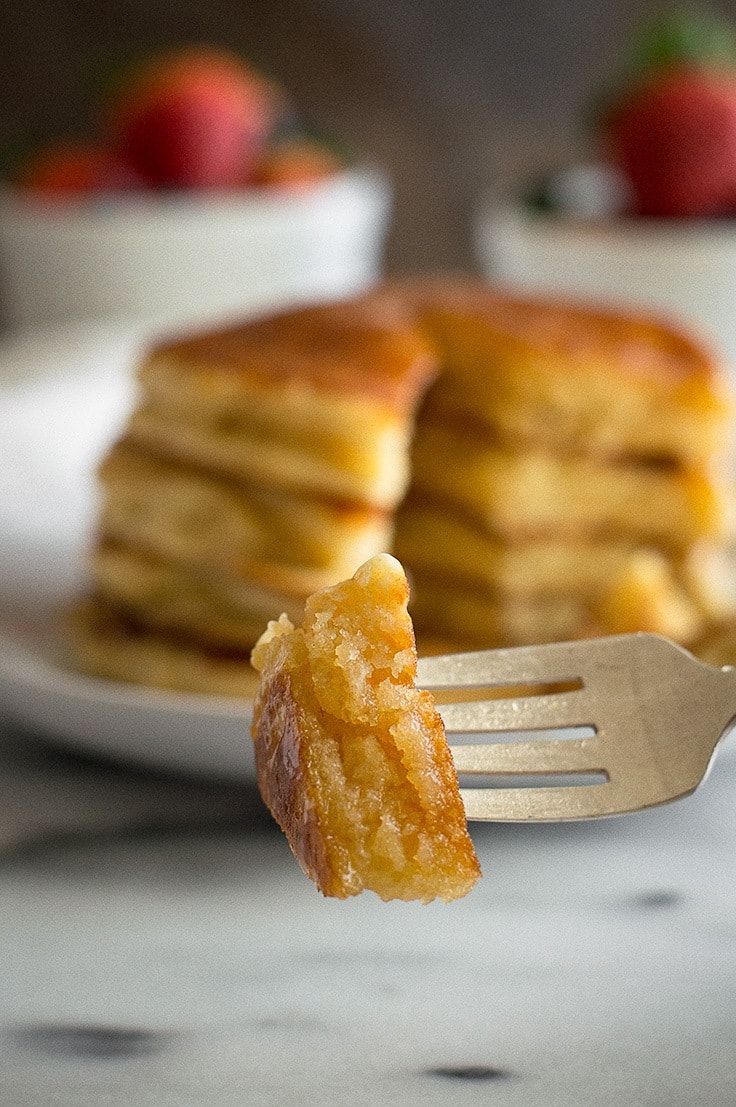

The extra step of beating the egg white takes hardly any extra time and is totally worth it, but if you don’t have an electric mixer, simply separating the egg and adding the white at the end still makes an amazingly fluffy pancake!
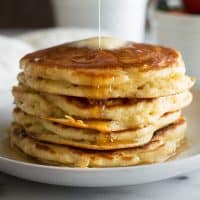
And this is a buttermilk pancake recipe, so you know the pancakes are going to be fabulous and a little tangy, but if you don’t have buttermilk, no worries. I’ve included instructions in the recipe for making you own. Buttermilk is best if you have it, but a little milk and lemon juice makes a perfectly acceptable substitute.

Please read the recipe notes on flour measurement!
Ingredients
Special Equipment
- ▢ Handheld electric mixer
Pancakes
- ▢ 1 cup ( 120g ) all-purpose flour measured by weight or using the spoon and sweep method*
- ▢ 2 tablespoons granulated sugar
- ▢ 1 teaspoon baking powder
- ▢ 1/2 teaspoon baking soda
- ▢ 1/2 teaspoon salt *
- ▢ 3/4 cup buttermilk *
- ▢ 1 large egg separated
- ▢ 2 tablespoons unsalted butter melted and slightly cooled
- ▢ 1/2 teaspoon vanilla extract
- ▢ Cooking spray or a little butter for pan greasing
Instructions
- In a small bowl, whisk together flour, sugar, baking powder, baking soda, and salt.
- In a medium bowl, whisk together buttermilk, egg yolk, butter, and vanilla. Add flour mixture and stir until just combined–batter will look a little thick.
- Heat griddle to 350°F or skillet to medium heat.
- While your griddle heats, in a small bowl, with a handheld electric mixer, beat egg white on high until stiff peaks form–the egg should be bright white, and when beaters are lifted out, peaks should stand straight up.
- Fold egg white into the batter with a baking spatula, being careful not to overmix and deflate the egg.
- Once your cooking surface is hot, lightly grease, and drop on slightly heaping 1/3 cups full of batter (if making in a skillet, you will have to cook in two batches) and cook until bubbles begin to form on the surface of your pancakes. Flip and cook until done.
- Add your favorite toppings and enjoy!
Notes
Adapted from Lovin the Oven

Chipotle Chicken Tacos with Yogurt Sauce
Ingredients
Chicken
- 2 large or 4 small boneless skinless chicken thighs
- 2 tablespoons olive oil
- 1/4 teaspoon salt
- 1/4 teaspoon chili powder
- 1/4 teaspoon cumin
- 1/8 teaspoon pepper
Tacos
- 4 corn tortillas
- 1 cup Pico de gallo
- 2 cups thinly sliced cabbage
Chipotle Yogurt Sauce
- 1 5-ounce container plain Greek yogurt
- 1 teaspoon sauce from a can of chipotle peppers *
- Juice from 1/2 lime about 1 1/2 teaspoons juice
- 1/4 teaspoon cumin
- 1/4 teaspoon chili powder
- 1/8 to 1/4 teaspoon salt
- Pepper to taste
Instructions
Chicken
- In a medium bowl, combine thighs, oil, and spices. Toss to coat. Set aside. Heat a medium frying pan over medium to medium high heat. Once hot, grease with cooking spray and add chicken thighs. Cook until well browned, 2 to 5 minutes. Flip and cook until an instant read thermometer inserted into the center of the thighs reads 160°F, 2 to 5 minutes. (If thighs are large, they may require a longer cooking time.)
- Transfer thighs to a plate. And allow to rest for 5 minutes before slicing.
Sauce
- Combine sauce ingredients and stir together.
Assemble
- Assemble tacos, top with pico de gallo and sauce, and enjoy.
